Take a look at this oak chair I purchased last week..
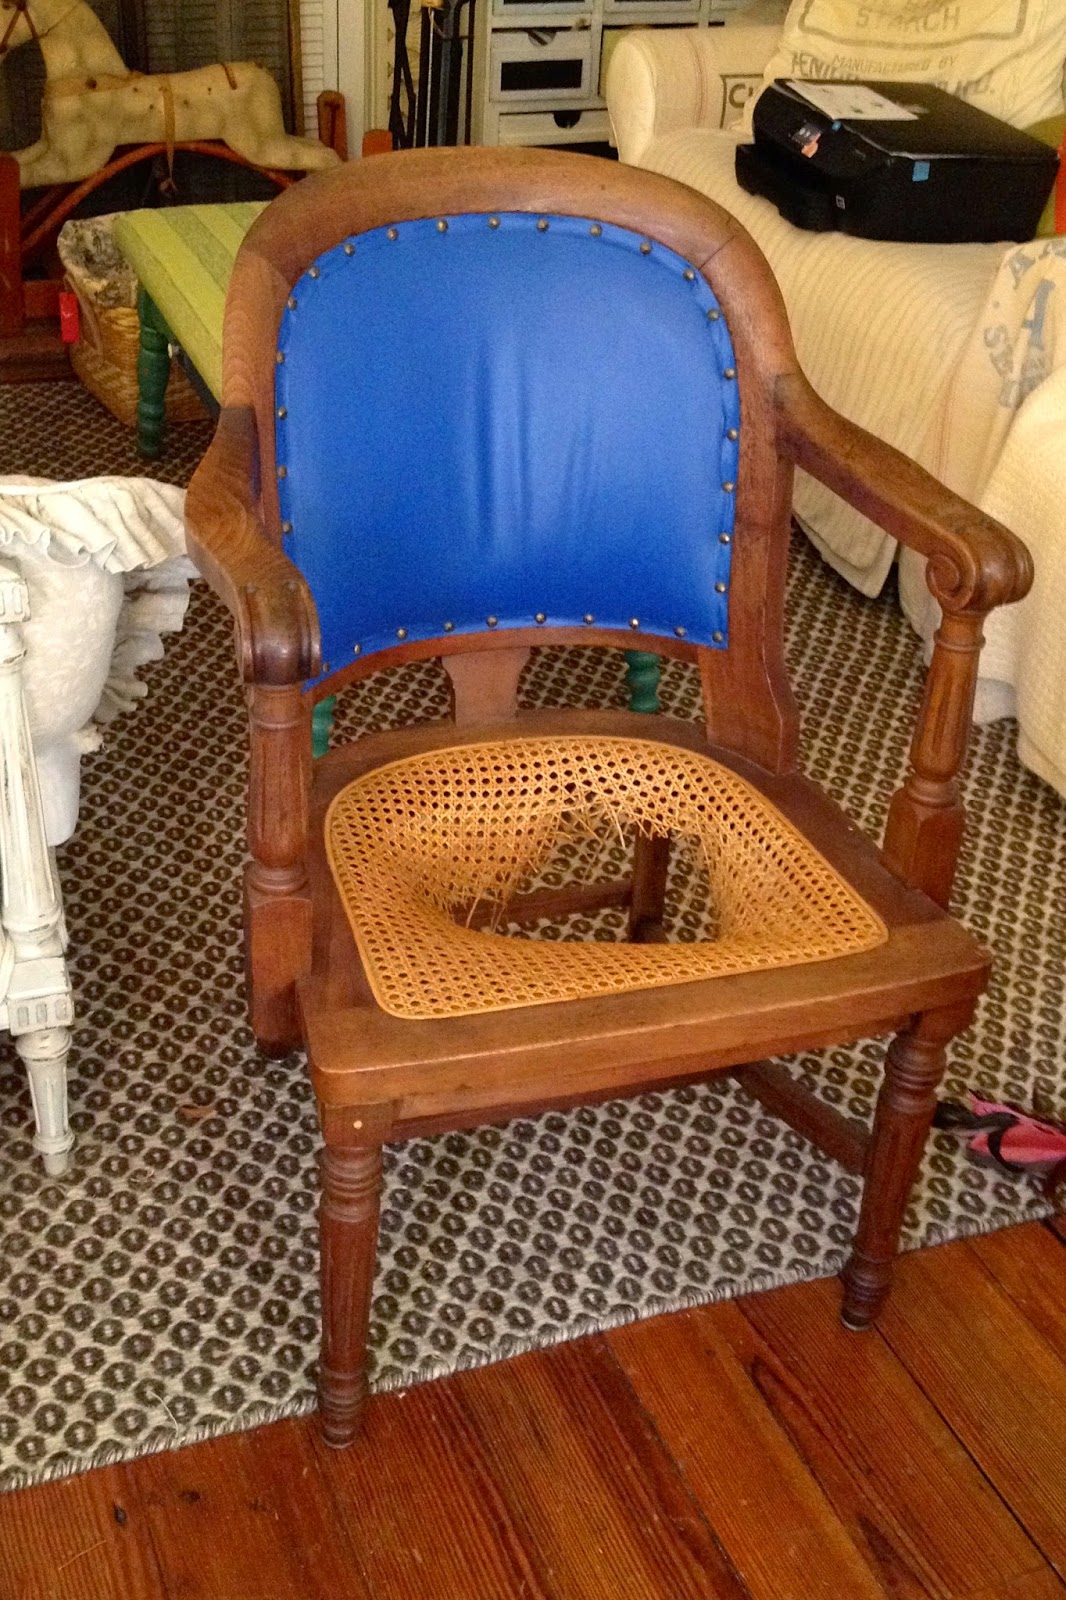
for a song….

..because of this broken cane seat...

(Someone had done a lovely upholstery job as well…
with blue vinyl….NOT!)

Shall we begin the transformation??
First I traced and cut a template for the seat.

Then I traced the outline onto a scrap piece of MDF,
and I jigsawed along the line.

Then I cut scrap foam to fit the MDF base,
and used spray adhesive to mount it on the MDF.

Then I added a layer of batting and stapled to the bottom.

Moving to the seat front/back,
I removed all the nail heads and the vinyl trim.

I added a layer of batting, and a scrap piece of ticking,
folding along the perimeter and
stapling.
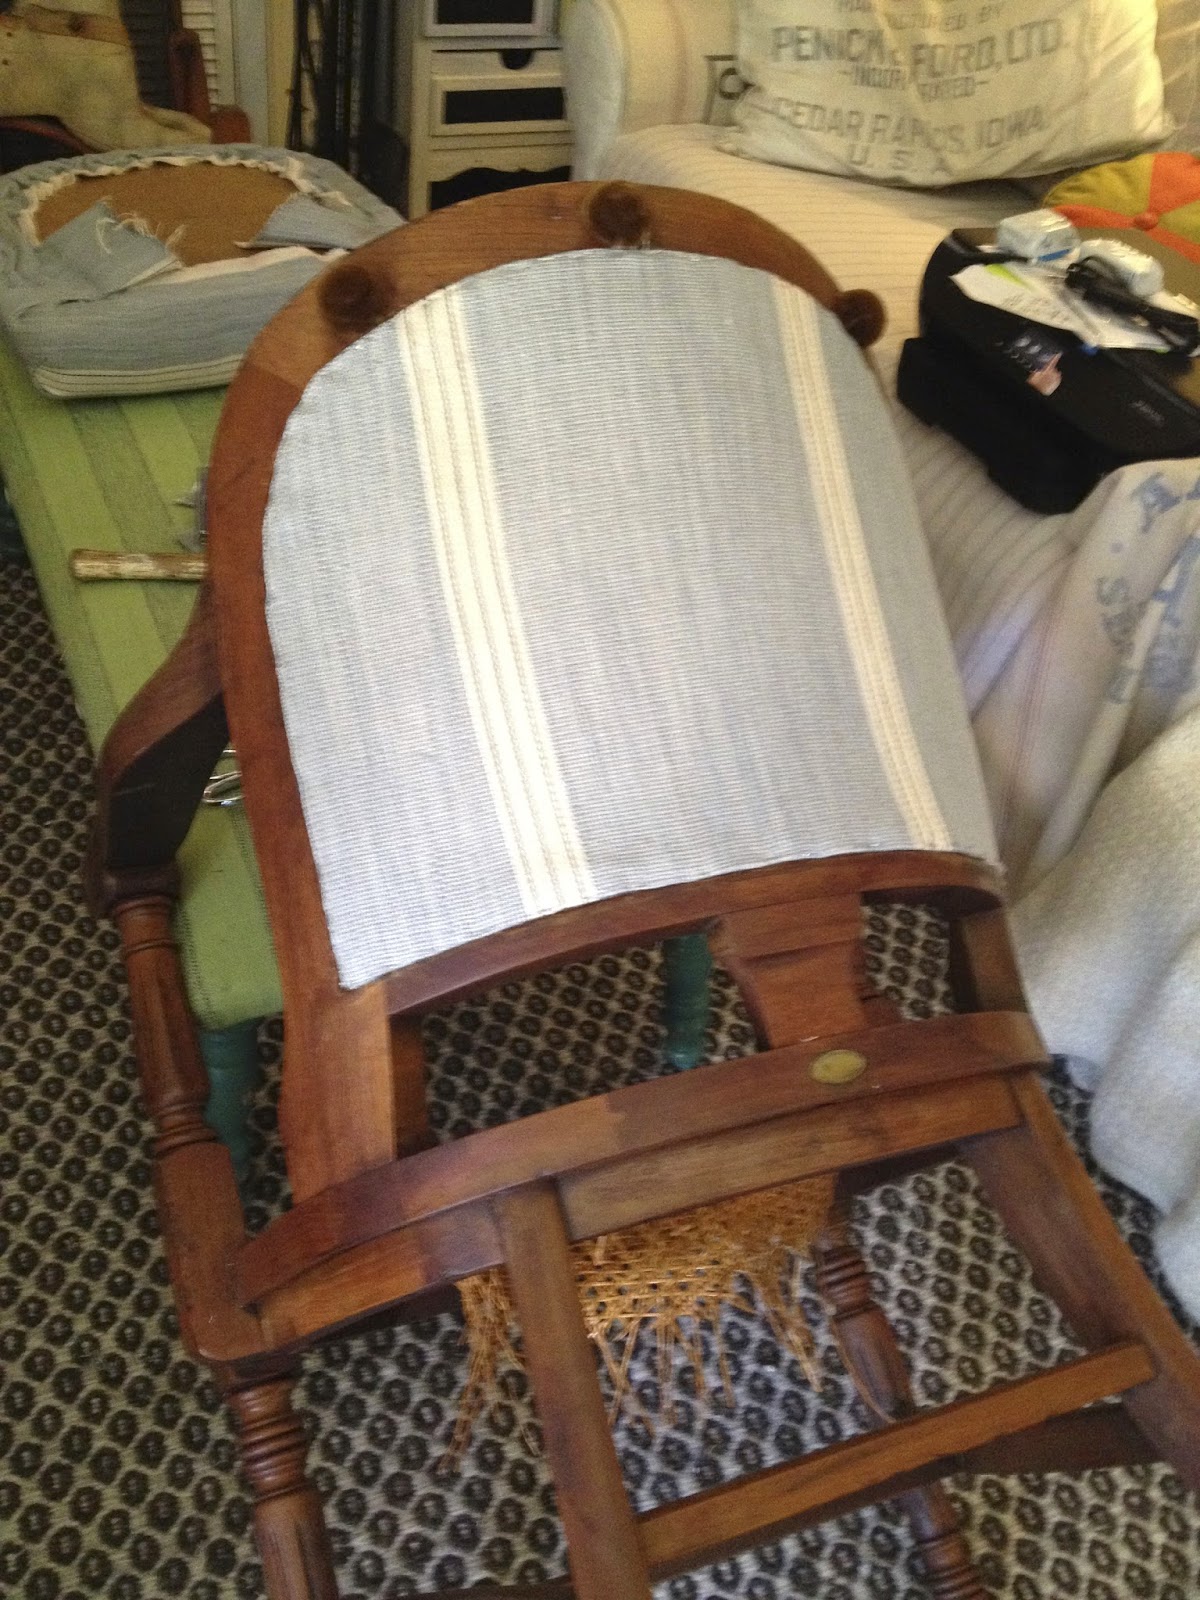
On the back, I did the same,
but I used different fabric…
(See that little tiny brass plague
on the back edge of the seat?
That is engraved with
"C and O Railroad."
How cool is that!)

And I used that same fabric to cover the seat cushion.

I glued natural gimp to the edges of the front and back
to cover all the staples.

I added burlap cording to the bottom edge of the seat cushion.
Then I secured the seat cushion to the chair by covering the caning
with another piece of MDF from below,
and screwing that into the bottom of the seat cushion.

Here's the finished back...

…and the front.
No one's the wiser that this was once a misfit chair!
Now it's a comfy refurbished railroad relic!
Using all scrap materials.
And that, my friends, is today's SheShe makeover!
SOLD
ReplyDelete