Monday, August 19, 2019

The Many Faces of Mom

Wow, today I opened my blog for the first time in over a year
and I found this draft that I had saved but never finished....
from last year,
just as I was going to my mom's to celebrate her birthday.
Little did I know,
it would be her last.
And last year -when I wrote this-
I thought I was having a rough year.
Ha.
It was peanuts compared to this one.
My mom died on May 14, 2019,
about two months before her 91st birthday.
After a rough year.
I ended up staying with her for her last six months.
She was declining, and in pain, and we were hopeful for a while.
But then we knew things were getting grim,
and we just wanted her to be at home and comfortable.
And she was.

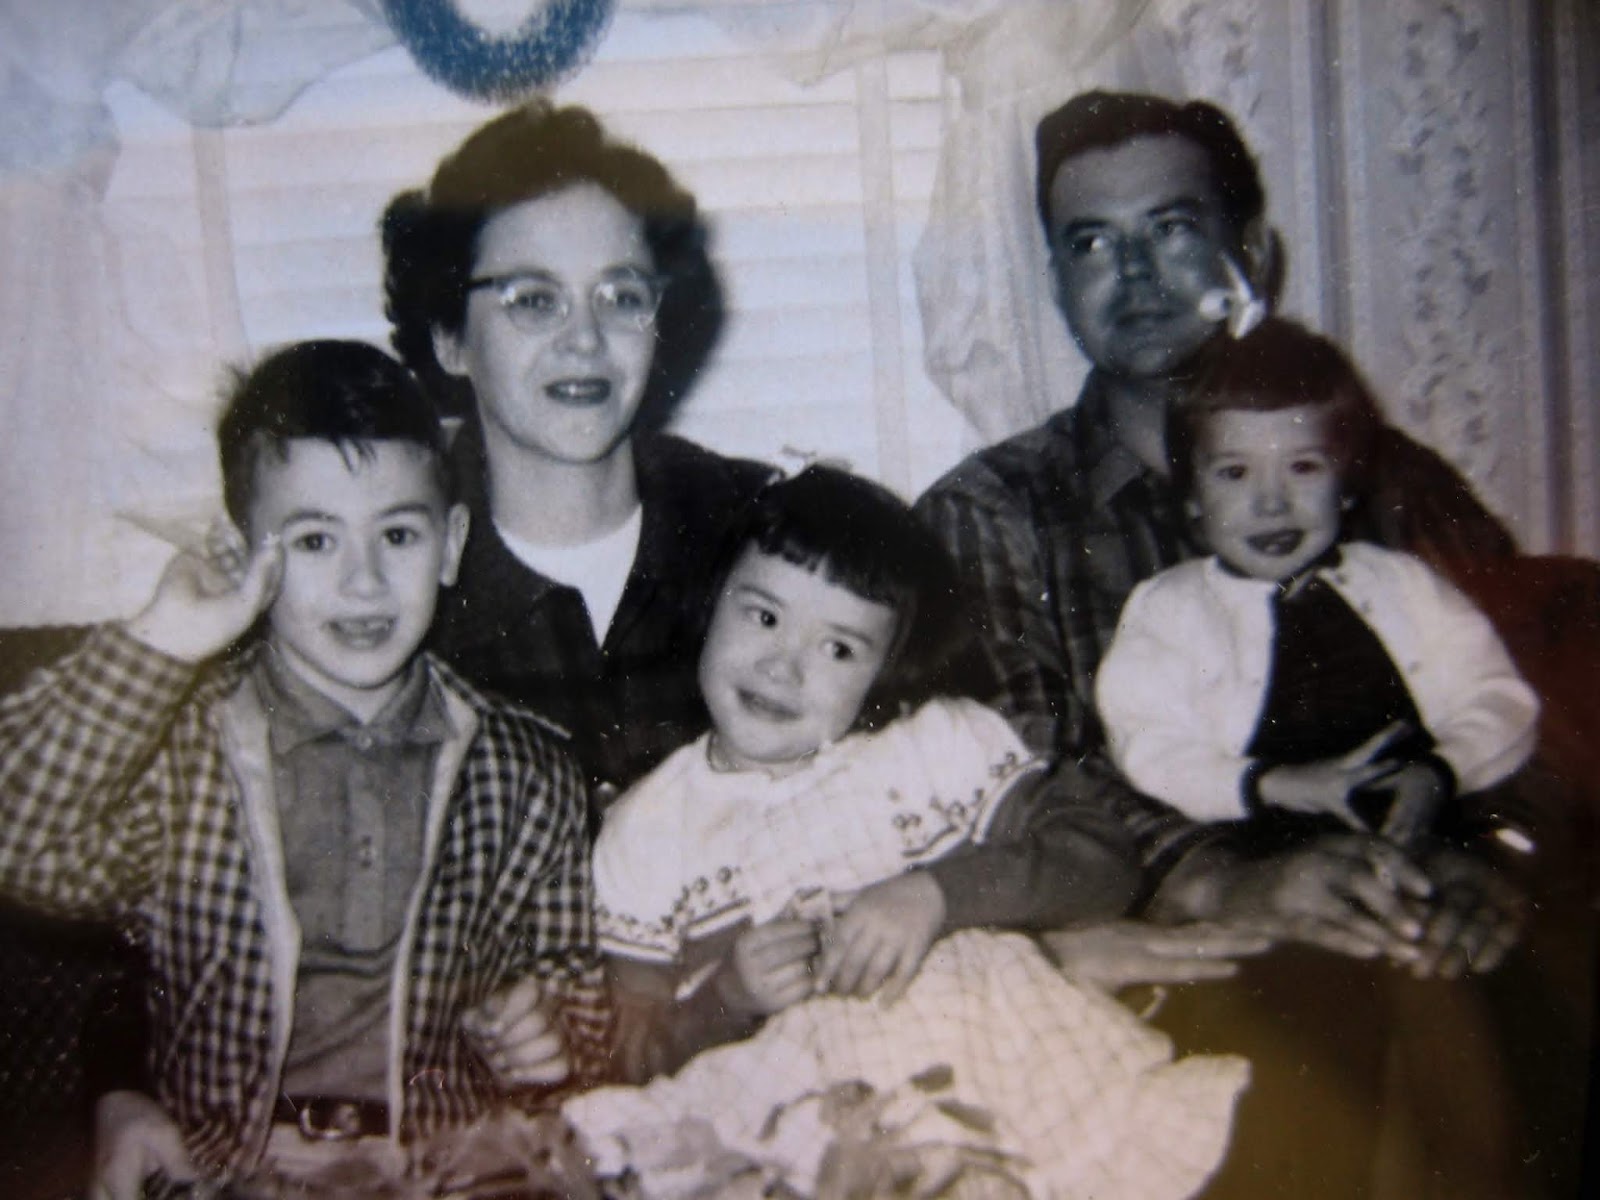
So seeing this, well,
every image of her is profound to me right now.
Because that's really all I have left of her.......
and wonderful, beautiful memories, of course.
She was always smiling.

So, Mom, this one's for you......
You are SO missed.
I love you forever.
I carry you in my heart.
I will try to spread your love always.

Love, me

---------------------------------------------------------------------------------------
I thought I had hung up the old blog.............
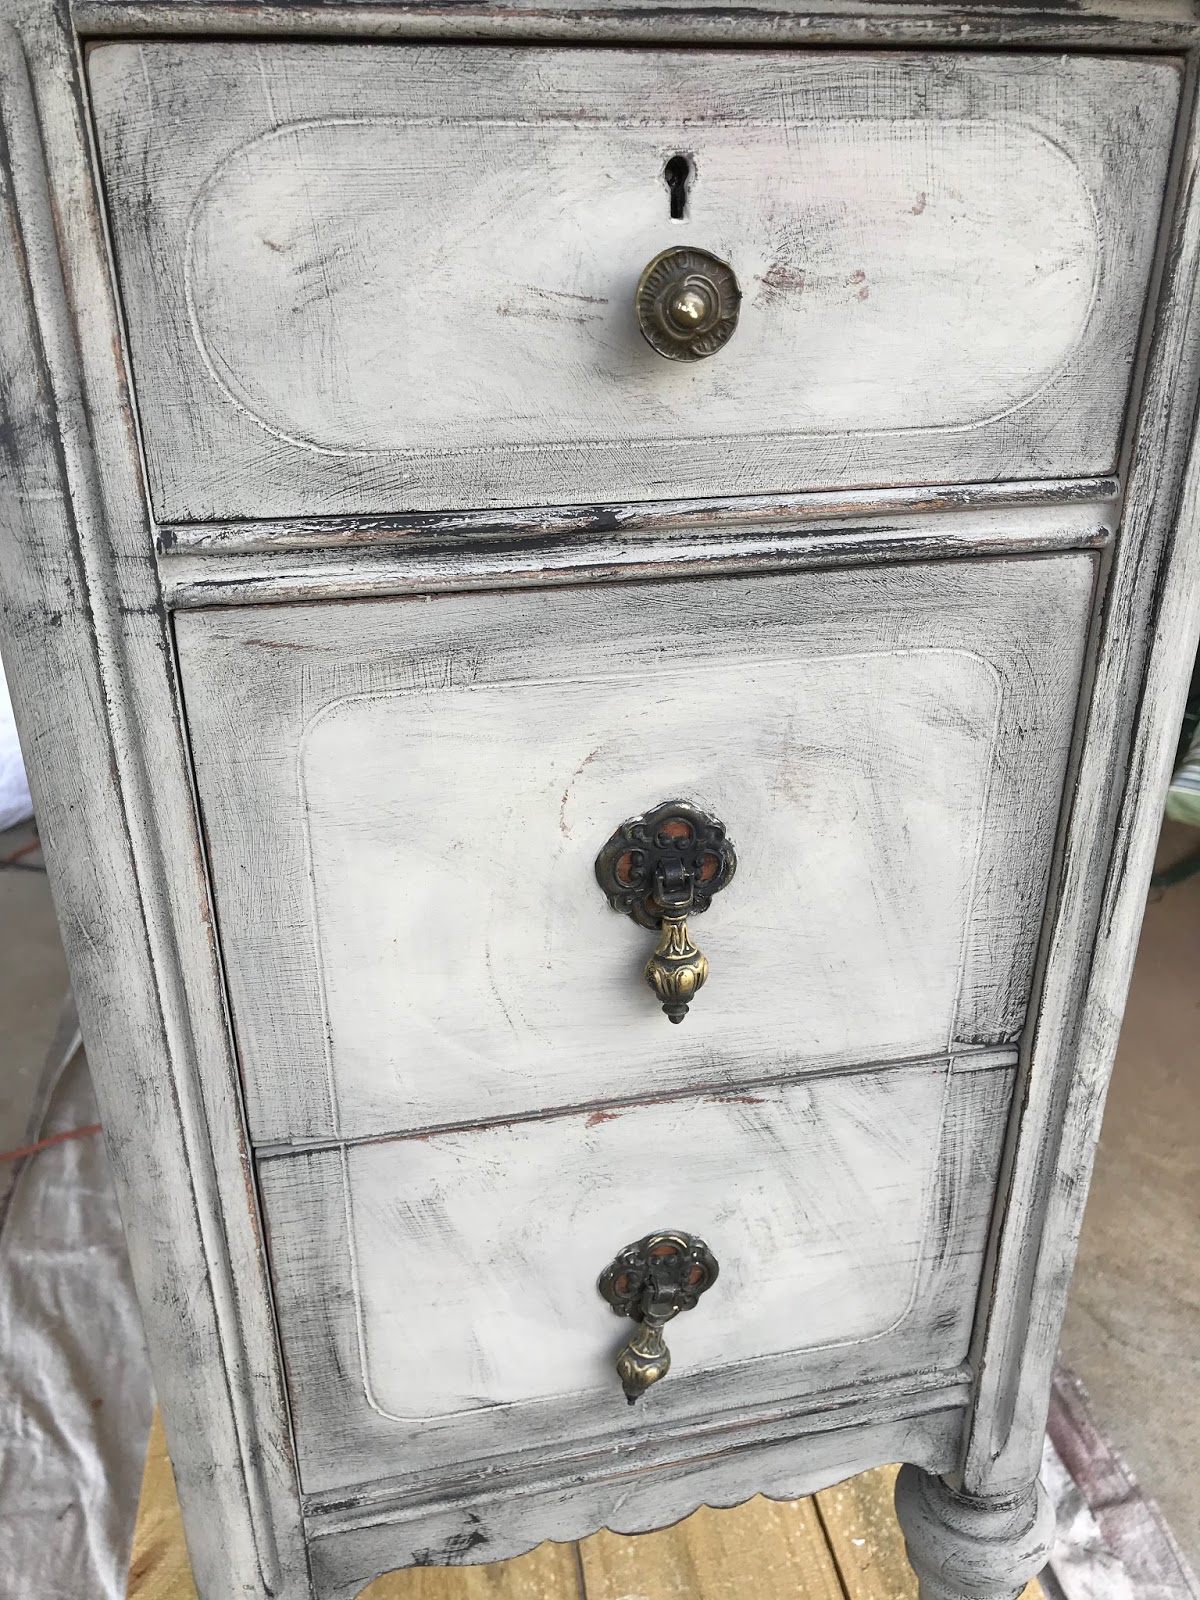
It's not that I don't have gobs and gobs and GOBS of transformations and projects, 
I've just lost my blogging mojo of late..........
But I am still here, folks!!!!

In the last couple of months, 
I've lost two dear old friends/creative directors 
that I worked with in the advertising business. 
I've had another birthday, 
some medical issues this spring/summer, 
and now I'm preparing to head home to celebrate my mom's 90th birthday. 
She is one amazing lady and I am so blessed to have her!!!!!!!!!


Tuesday, March 20, 2018

An upcycled broken vanity becomes a Kitchen Island!


Here is a recent makeover I had great fun with!
It was an old vanity, 
but the middle part with the mirror was gone.

 My original intention with this was to take out the middle part,
and make two nightstands.
 So I proceeded with that plan:
One of the tops had veneer issues,
and while I was removing it...
I started thinking this...
What if instead of two nightstands,
I butt the ends together so drawers are on either side......
 It was an aha moment!
 AND, 
I then remembered this black coffee table 
that a friend had given me
(Thanks, Valerie Williams!)
 I put it on top, 
but it was just shy lengthwise.......
 Not a problem!!!!!!!! I simply removed the tops.......
 And now.......it fits like a glove!!!!
I love when this happens....
 Next, I play around with how to adhere the two pieces...
and try to cosmetically disguise the imperfections...
of where the middle piece was.
 I played around with a few things....
a celtic cross and some lumber...
 Also this medallion.
 I think this is it...
 I glued down then weighted the lumber while I continued to play...
 The top of an old quilt stand now becomes a towel rack..
 And the painting begins.........
Chalk paint in French Linen...
 Just wait, this is going to all come together once it's painted!!!!!!!
 See?
I love how the coffee table top looks like old soapstone!!!!!!
 I picked up these two black and gold medallions at a thrift store....
 They are perfect for the two sides.........
 After everything is dry,
I decide to incorporate more black tones into the base 
by drybrushing the edges and details with black chalk paint.

 As well as the medallions....
 I just continue to build a patina..

 And then everything is waxed. 
I used clear as well as black wax....
 Oh, my my, this is looking quite tasty.....
 The waxes just enrichen everything......and bring it to life.
 Once the waxes dry and are buffed out,
there's a lovely sheen that almost looks like pewter.
 It's finished!
 Here it is all set up at one of my retail booths.
TONS of storage on either side.
It has its original casters.
This would make the perfect kitchen island, 
or coffee bar.
Don't you agree?

Right now, you can find me for sale at my booth at
Greenwood Antiques!

That was a blast!
Thanks for reading!

SheShe, The Home Magician
Sheila Fox
sheilafox@aol.com
804-402-4370

Thursday, March 15, 2018

The Rehab of Two Incredible Chairs!!

This past month,
I was able to work on two of the most
incredible chairs.......

Here's the first one:
 This is an antique "Northwind" chair.
I believe it was a Sears and Roebuck chair
that mimicked those very popular ones
from the Victorian era...
 I truly HATE stripping,
but I just had to see
what was under that brown paint and stain...

Tiger oak!
 So at first,
I thought it was just the arms and back...
But take a look.
Now I'm not sure if it's all tiger oak..
maybe some graining tools were used?
I don't know, but whatever it is,
IT'S GORGEOUS!!
I was delighted when a friend from junior high days
purchased it!
(Thanks, Melanie Bentley!!!
And it gave me the opportunity to see you after
a few years.......so fun to reconnect!!!)

And here's the next one!
This awesome chair was purchased
at Greenwood Antiques and Uniques.
Yes, it needs some work, but....
 Check out the arms!!!!!!!!!!!!
 Rams' heads........
Although they look like wood,
I believe they are some kind of resin..

 The chair was covered in an olive green quilted sateen fabric..
 Very dated because of the color...
But except for the arms and apron, 
the fabric was in great shape.
Because of this,
I did an experiment to see if the fabric could be painted.
Indeed!
So the makeover begins...
I removed all the armrest fabric and batting..
It's now stripped to the muslin covered horsehair/straw.
Bye bye brown and green...
I painted the trim with white chalk paint, 
using a drybrush effect...
So that the paint doesn't get in the crevices.
This pops all that luscious detail!
After all the trim was painted,
I begin painting the fabric.
You want to wet the fabric, 
and then use lots of water with the paint,
and thin multiple coats..
So, in a way, you are "dying" the fabric"
vs."painting." 
You don't want the paint to simply sit on top.
You want the fabric to absorb the paint.
After each coat was dry,
I lightly sanded.
This softens the fabric and makes if feel smooth.
Here it is after 3-4 coats.
I'm so glad I was able to save this fabric!
I love the texture of the quilted swirls.
And painting vs. reupholstering the whole piece
saved hundreds of dollars.
Everything was waxed, 
and then I upholstered
just the apron, cushion, 
and armrests with
this gorgeous animal print chenille....
that was purchased from Ufab
The painted fabric has a slight sheen from the buffing
that helps marry it to the sheen of the fabric.
And because you are sitting and resting your arms on the
fabric recovered portions, it doesn't affect comfort.
Here's a closeup of the arm after waxing and buffing.
And here it is delivered to its new home..
It is gorgeous!
I think Kay was very happy with her rehabbed chair!
AND
I was happy to make a new friend!
(PS: She's an awesome estate attorney 
that I would highly recommend!
Contact me for details.)

A regular chair is going to seem
so pedestrian after these two!
Wow!
I'll have to really pump up the fun factor!

Need a chair makeover
Oh, yes, 
I can help!

SheShe, The Home Magician
Sheila Fox
sheilafox@aol.com
804-402-4370