If I say so myself,
this kitchen makeover ROCKS!
I just finished it.
It's another great example of how you can cosmetically upgrade
a space without a major investment!

BEFORE:
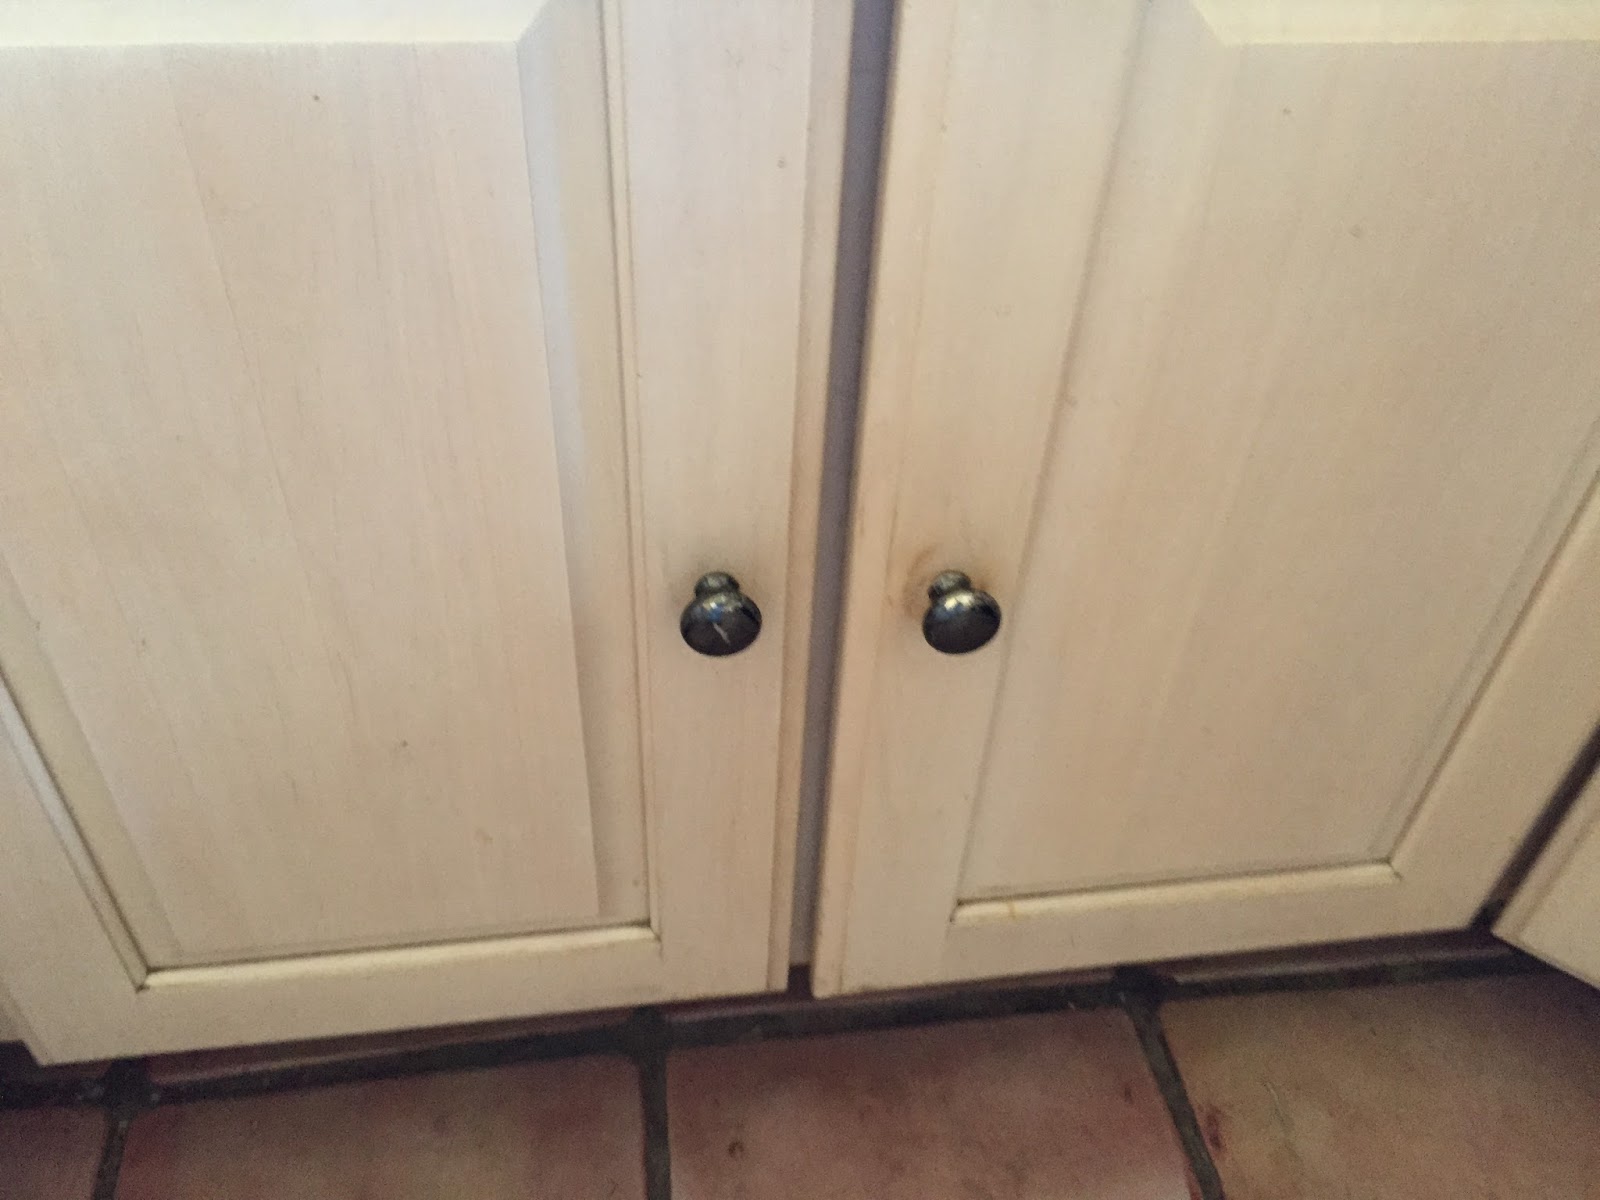
Here is Jay's kitchen.
Presently, his cabinets are
a fleshy pickled-finish.
Countertops are black formica,

The layout of the kitchen is a little unusual
in that it has these appliances
that run down the middle of the room.
And behind that,
is the refrigerator and french doors to the deck.

The reverse angle.
Sort of cuts the room right in half!
So I can't really do much about the layout,
but I can surely improve this kitchen!!!

Here's the back of the stove/dishwasher.
Wood isn't even finished here.

On this wall,
there is the trash can,
a freestanding butcher block stand,
and a drop leaf table and chair.

And on the wall,
lots of art hung in a haphazard fashion.....

The floors are terracotta tile.
(Love the doggy foot print there in the middle.)
And here you can really see how the black appliances
stick out from the cabinets.
I've got some ideas to fix that!
THE PLAN:
So...I suggested to Jay...
So...I suggested to Jay...
that I paint the cabinets.
I would do the base ones in a dark tone,
to integrate the black countertops and appliances.
Paint the upper cabinets white.
Change out the hardware.

I explored several wall and base cabinet colors.
I painted swatches all along the wall in various places,
and on the base cabinets.

I knew I wanted to paint the uppers in
White Dove, so I added swatches there, too.
I also suggested doing a stacked stone backsplash
along this wall.

These are the perfect colors to tie in the cabinets,
countertop and floors.

I also wanted to come up with some type of
camouflage to hide all the clutter in the windowed upper cabinets.

Jay stores most of his groceries here.
Dog food packaging is only so attractive...

So after living with these swatches for a few days,
Jay and I selected colors.
I'm going to paint the upper cabinets in BM White Dove.
The base cabinets in Temptation,
and the walls in Revere Pewter.
And now....the REAL work begins.

After numbering/lettering all the doors
(a very important step!)
I removed them.
(I used letters for upper and numbers for base,
since I'm painting two different primer/colors
and didn't want to get confused.)


I removed all the drawer fronts.

I washed down all the cabinet bases and the doors with TSP.
After drying,
I lightly sanded everything and wiped down.

Then I started with priming the base cabinets
with a primer I had matched to the paint.

And the upper cabinets I primed in white.
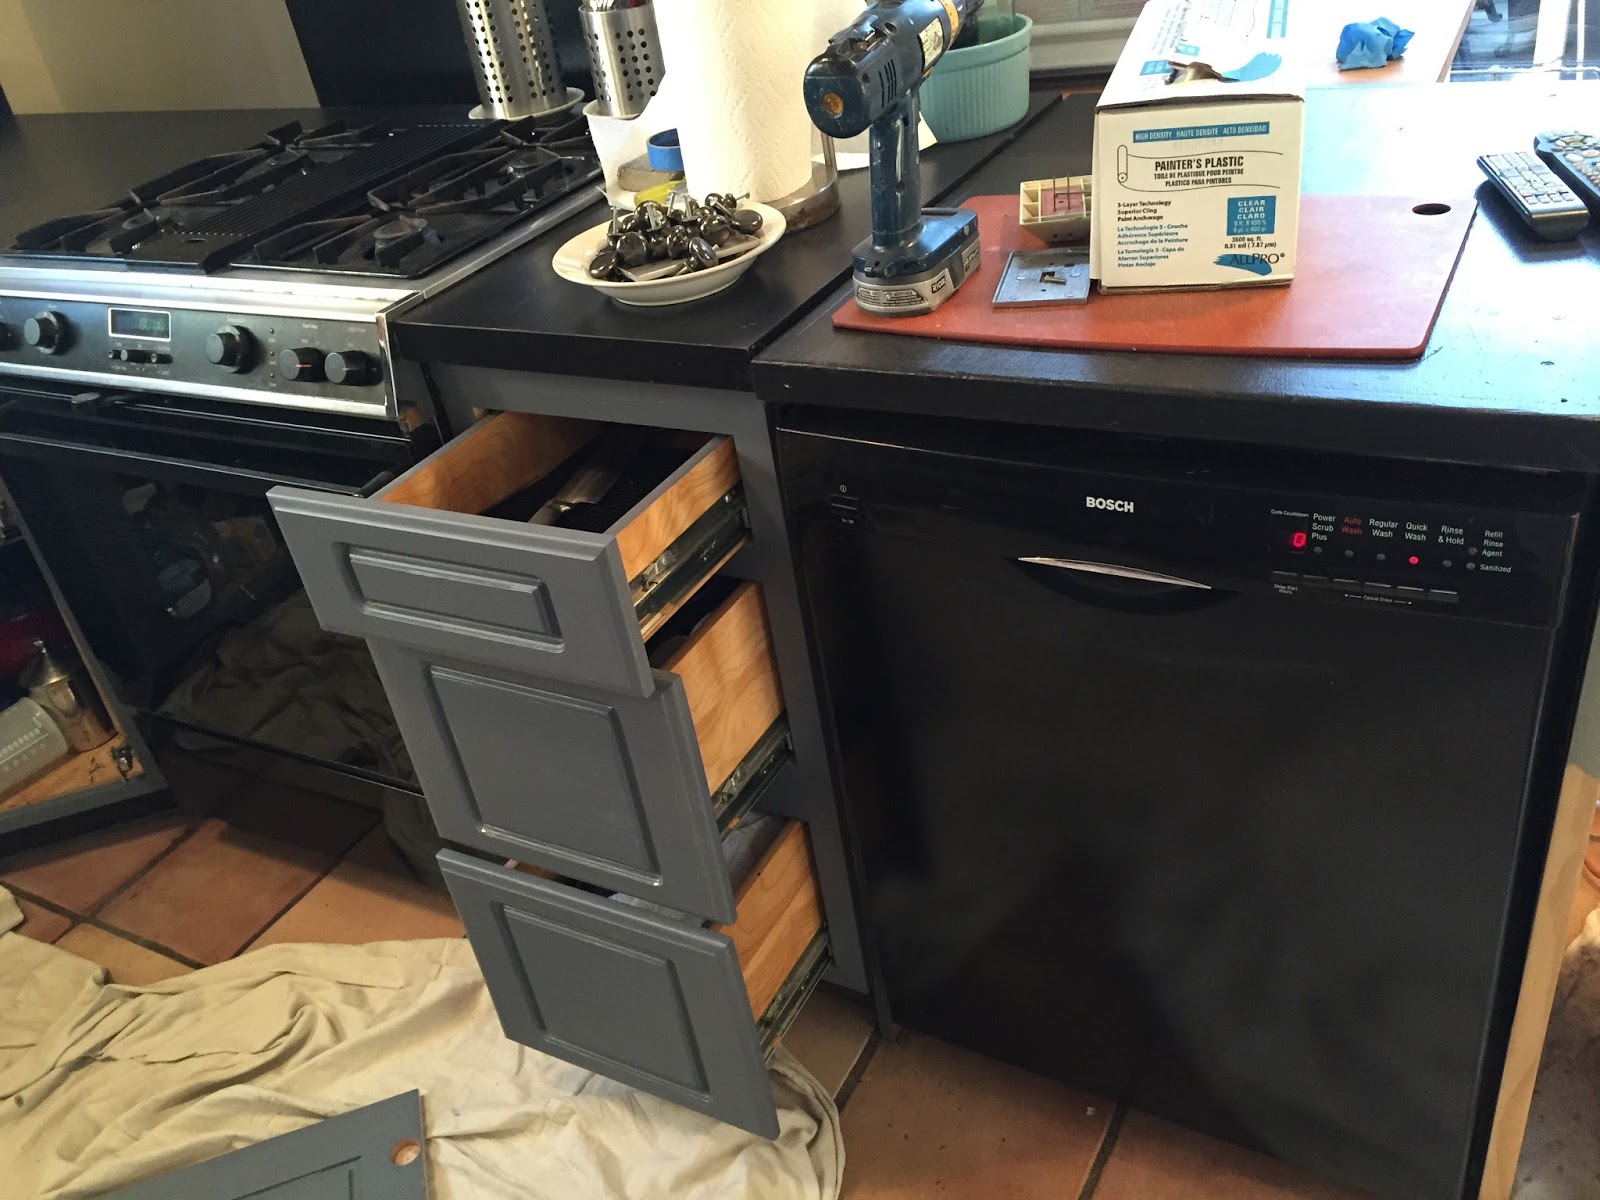
I do the cabinet bases first,
then put the drawers back in and prime them.

as the base cabinets, to keep the flow going.

has a lot of blue in it...And the walls are yellow....
I'm going to paint the woodwork to match the upper cabinets.
It's going to unify everything and look fantastic with the new wall color.


So after painting the upper cabinets,
I moved to the backsplash.
This product is very 3-D and does not require grout.
Since the tiles are small, the cutting was minimal
and I could do without the need for a wet saw.

It's like a giant jigsaw puzzle.....
I applied the adhesive,
and then put up the tile.

The edges were rather tricky,
and at first,
I was concerned about some of the white adhesive showing.

But I came up with an easy solution.

and allowing to dry overnight,
I used the same dark primer as the base cabinets
to paint over the small areas of adhesive.

Worked like a charm!
This looks SO rich and fabulous with the cabinets and floor.

Love the vibe!

Here you can see the wall color going up.
I can't WAIT to get rid of the yellow!!!!

Here's the new color (Revere Pewter) with the new trim (White Dove.)
Isn't it beautiful?

These upper cabinet doors were the worst part....
I had to scrape glass after each coat of primer and paint,
inside and out.
But they are finally done!

And look what I came up with!
I had a bolt of this fabric that worked beautifully.

of the upper cabinets.
All clutter is obscured!

Next,
I continued putting back all the doors.

And drilled holes and added new hardware.
Simple stainless steel bar pulls.

Sleek, contemporary and inexpensive!


Putting it all back together is very rewarding.
It's TANGIBLE!


I centered the table on the this wall lengthwise.
Brought in these two parsons chairs I reupholstered.

I painted the base molding the same color as base cabinets.

Found the ginger jar that was used in this painting.

This is the perfect punch of color!!

What an amazing kitchen!!!!!!
REVISIT:
From this....

To this!!!!!
What an incredible transformation!
Daytime...

Anytime,
it looks fantastic.

Thank you, Jay,
for all the incredible projects in your home!
Have a kitchen that needs a makeover?
ShEShE, The Home Magician
Sheila Fox
sheilafox@aol.com
804-402-4370
Hi Sheila, love what you did! This is Lynn from The Vintage Nest at the Lazy Daisy Midlothian store. I have a blogging party every day Thursday (starts Wed. evening at 7 pm) called Share Your Style. It's an inspirational decorating blog. I see so many wonderful ideas on it and your kitchen and in other projects would be perfect. Come on by this week. You can stop by my blog and take a look see. :)
ReplyDeleteP.S. I forgot to say, it's also a way to meet other fun bloggers who decorate and re-purpose and gain some new followers. :)
ReplyDeleteLove it! Like the windchimes in the pot hanger!
ReplyDeleteWOW! That is an amazing transformation!!!! Beautiful!!!
ReplyDeletethank you, Michelle!! They means a lot!
Delete