
Somehow I got involved with this pair of wing chairs…
They were for sale in another dealer's booth
at Greenwood Antiques & Uniques.
Lovely lines,
They were for sale in another dealer's booth
at Greenwood Antiques & Uniques.
Lovely lines,

but old lady fabric….

Someone inquired whether I could redo them to go with this one
that was recently purchased from my booth.

Here's the back of that chair.
(I used a pair of Pottery Barn linen drapes for the fabric on the back.…)

Let me just say,
if I were looking for the ideal chair to reupholster,
it would NOT be this one.
I'd categorize it as…challenging.
(Wilma, however, seems very fond of it.
After all, she is Queen of the Universe!)

After removing the piping and staples,
I painted the frame, then waxed.
I'd categorize it as…challenging.
(Wilma, however, seems very fond of it.
After all, she is Queen of the Universe!)
After removing the piping and staples,
I painted the frame, then waxed.

Next,
deconstruction.
I removed the back piece,
to use as a template for the back fabric.

Next, I removed this batting,
and then the cardboard.

And this is what's next.
I cut all the threads to remove the batting
globs, and the buttons.

Next, deciding on fabric…….
I didn't have any of the ticking fabric from the original chair.,
so I tried this on the front.
Which I hated.
(I'll reserve it for the back.)

A trip to Williams & Sherrill for some fabric….
and let the tufting begin!

Looking quite nice!

I thread each button with heavy duty string.
And with a long needle,
feed it through from front to back,
where I reuse the batting globs.
Then I pull tight and tie off each string.
And then to the next button.
And the next.

After the tufting is done,
I stapled the cardboard and some fresh batting to the back.
Next I pull the fabric to the back and staple all along the edges.
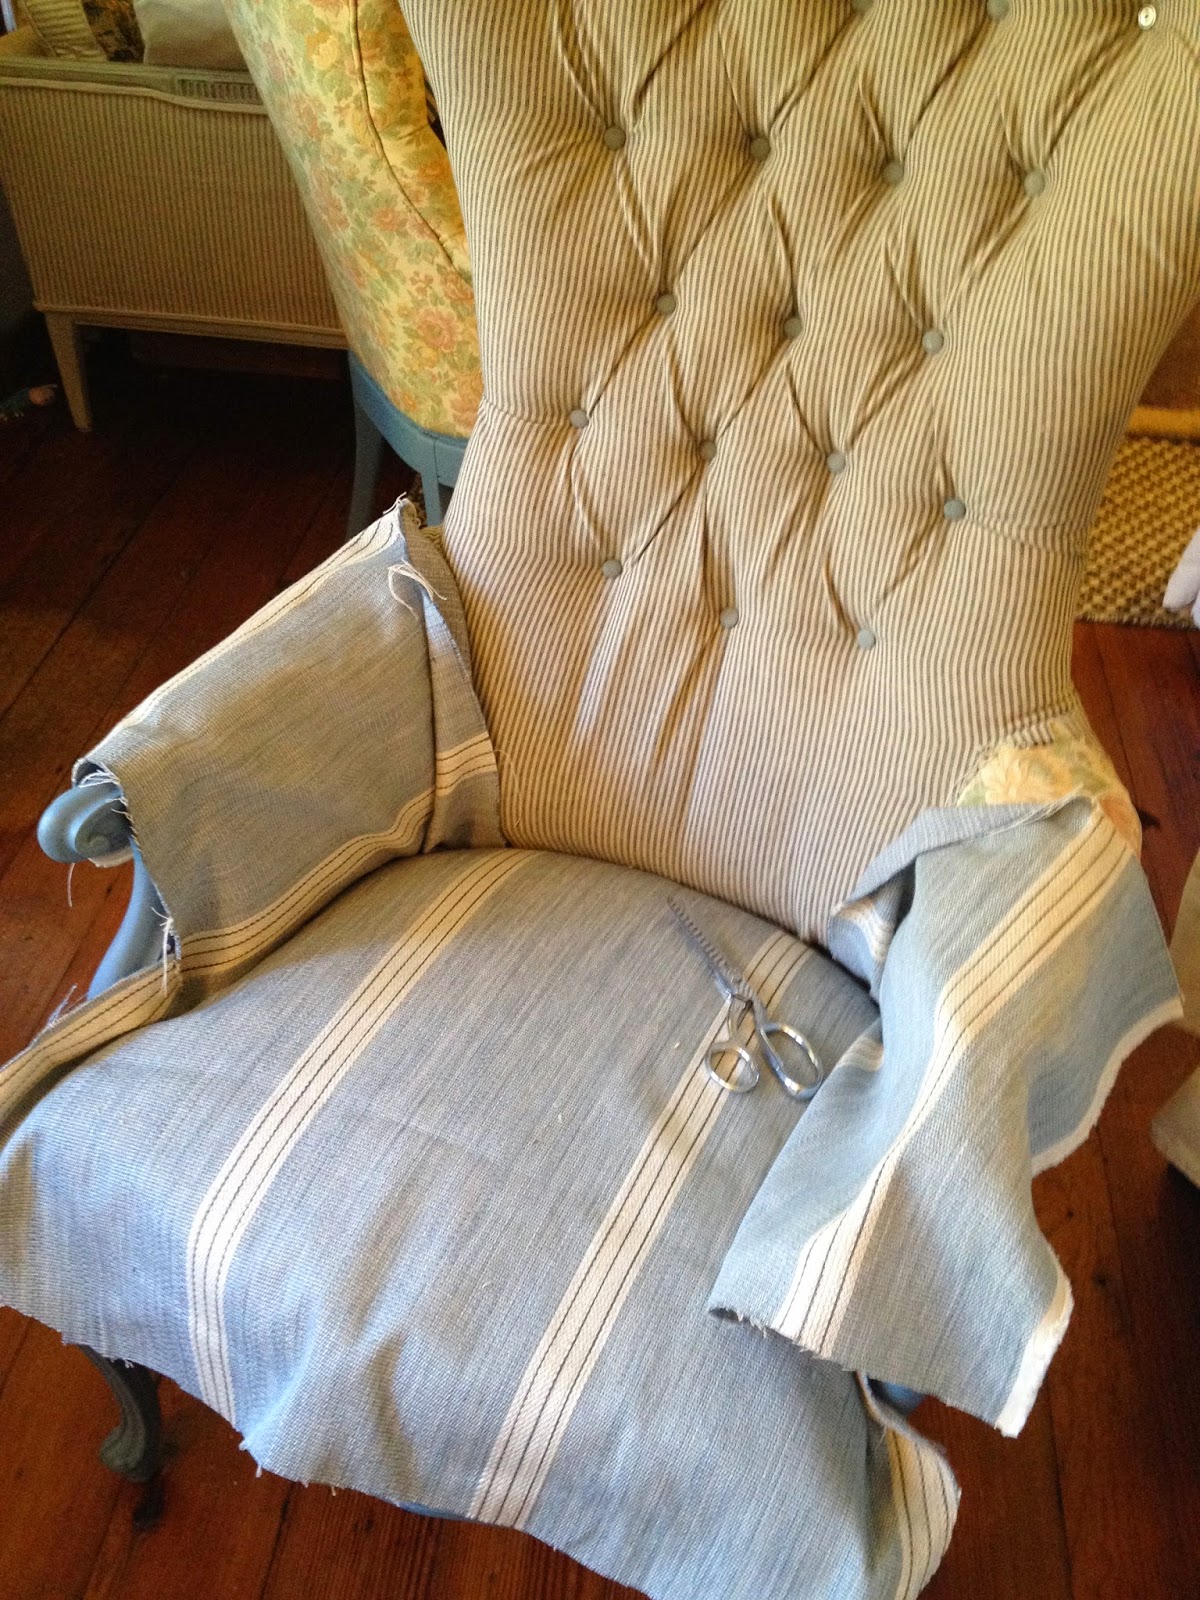
And on to the seat and arms.
I'm doing one of my "scrap happy" approaches…
A different fabric:
A delicious thick ticking for the seat and arms,
that will hold up nicely.

(I won't go into all the details,
but all this is damn hard!)

Getting there…

Then I take the back fabric I've already cut out using the
old fabric as a template,
and staple all along the edges.

I'm able to do the back and outer sides all with one cut of fabric.

And finally, the gimp,
which I glue along all the edges to hide the staples.


I use oversized nail heads where the gimp meets.
Nice little finishing detail.

One down, one to go.

Here is the finished pair!!!!
Front..

Sideview...

Rearview.

And with a recent change of plans,
I'm pleased to announce these just may be coming up for sale soon!!!
Let me know if you might be interested.
$900 for this gorgeous pair of
scraphappy SheShe chairs!!!!!
What a perfect Christmas gift for the little Missus!
I'm pleased to announce these just may be coming up for sale soon!!!
Let me know if you might be interested.
$900 for this gorgeous pair of
scraphappy SheShe chairs!!!!!
What a perfect Christmas gift for the little Missus!
No comments:
Post a Comment