One of my favorite things to do when I'm reupholstering furniture
is to use different fabrics in unexpected combinations...
Who wants something that looks like what everyone else has?
Not me!
And they don't have to be over the top,
(even though I usually like over the top.)
Here are some inspiration photos:
I LOVE this lady's work.
I discovered her a couple years ago at a wonderful shop
in Cornelius, NC,
Bebe Gallini's,
Her name is Shawna Robinson and her company is called
Happy Chair.
Great name.
Isn't her work fabulous?
LOVE the unexpected combinations of pattern, color and texture.
Awesome set of dining room chairs...
More Happy Chairs...

And then there's this lady, Kitty McBride of
Here are a few "scraphappy" pieces of my own.
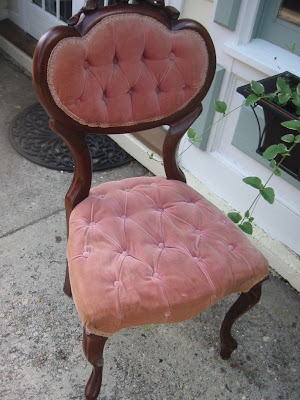
BEFORE: Victorian parlor chair.
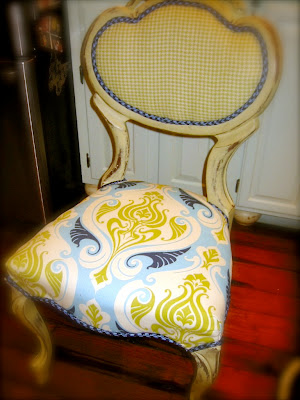
AFTER: Now THIS is a parlor chair!
Love these fabrics together.......
I used a combination of four fabrics.

And here's the back.
All these fabrics were scraps left over from various projects....
not enough really to do much with
but too good to throw out.

(You should SEE my scrap bag.....
actually, I have many scrap bags.)
I'm a bag lady.
BEFORE: Goodwill chair.
AFTER: This one I painted and then reupholstered
in different chenille bedspread scraps.
I love the detail at the top of the chair,
which I appliquéd from another scrap.
Here it is in my booth before it sold.
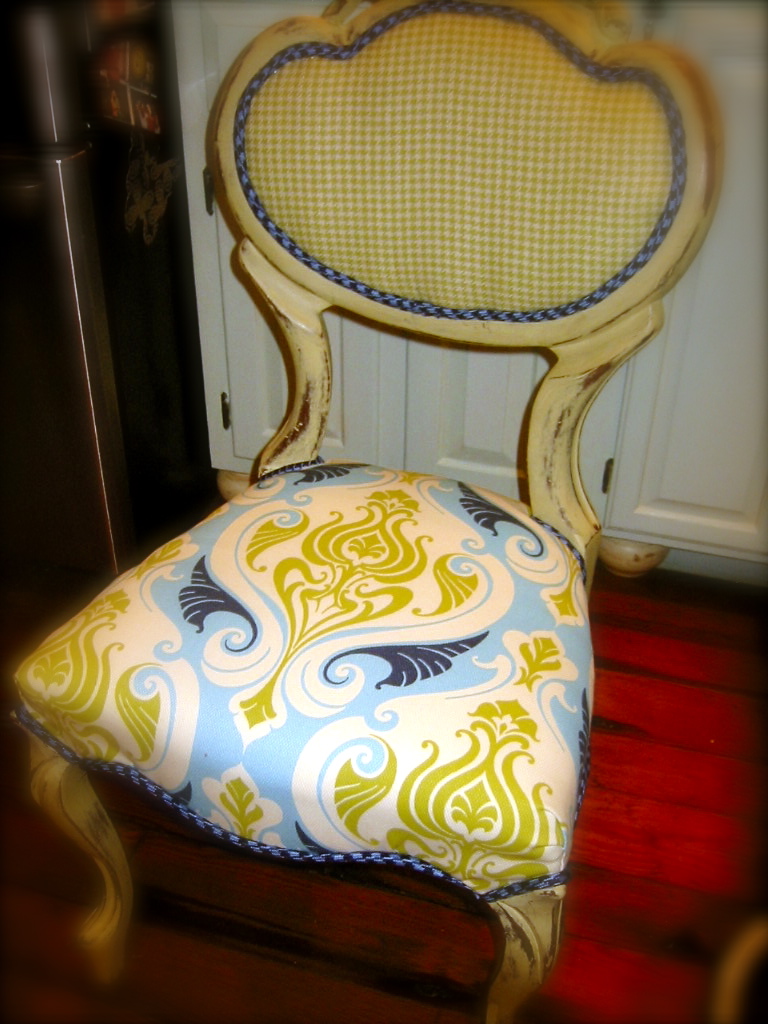
BEFORE: Vintage maple chair with brown scratchy fabric. yuk.
AFTER: Painted, then covered in this fun "Flight of Fancy" fabric.
(This one's still available for sale.)

The back (no photo) is the same lime green as the piping.

And on the sides, I used a vintage fabric
with baby blue, green and white stripes.
BEFORE: Literally an alley dumpster chair.
With a big hole in the caning.

After painting, I created a fabric medallion on the front and back
to cover and stabilize the damaged caning.

And for some reason,
I felt like I had to do this one over again....??
So here is the one that I finally sold in my booth...
Different paint job and all.
(Sometimes I think I'm truly sick....)
BEFORE: Sad tripod chair. hee...

AFTER: I might have gone a little overboard on this one!
Certainly one of a kind...

I painted the frame, and I used a linen quilted fabric for the chair front, and a linen
fabric with sea coral images for the bottom, arms....
and a little appliqué here...


Arms with nailhead trim........
BEFORE: A pair in fruit faux needlepoint.....
AFTER: For this pair, I painted (of course),
then covered the seats in a hemp...
..and the fronts in a similar fabric with this graphic.
This pair now lives at a B&B on the river.......
Really hated to part with these...
BEFORE: Another pair I recently bought to redo.
AFTER: I alternated the fabrics on the fronts and seats:
Thomas Paul Dragonfly print with a blue and white ticking...
And used pleated linen on the backs. Sold.
BEFORE: I had four of these....
AFTER: I did the bottoms in drop cloths,
and used a striped tobacco and indigo linen for the chair fronts.
BEFORE: Another tired pair.
AFTER: I covered the fronts and seats
with a diamond patterned chenille in teal/taupe...
And used pleated linen for the backs.
See? Even traditional doesn't have to be totally expected!
Have some family pieces that you can't part with?
Keep 'em! Reinvent 'em!
Then drool over 'em!