Saturday, July 11, 2015

Retro "Egg" Chair Set Revamped with fresh upholstery


I picked up four of these retro "egg" chairs this week:
  This has to be the worst upholstery job I've ever seen. ha..
(Inspector Wilma reports for duty.)
 I removed all the cushions...
 And gave the chairs a good scrubbing.
 Here are those lovely cushions...
 I removed all the fabric to find nasty old dirty batting..
So I replaced with new batting.
 I decided on this indigo and white faux bois print.
 Perfect…
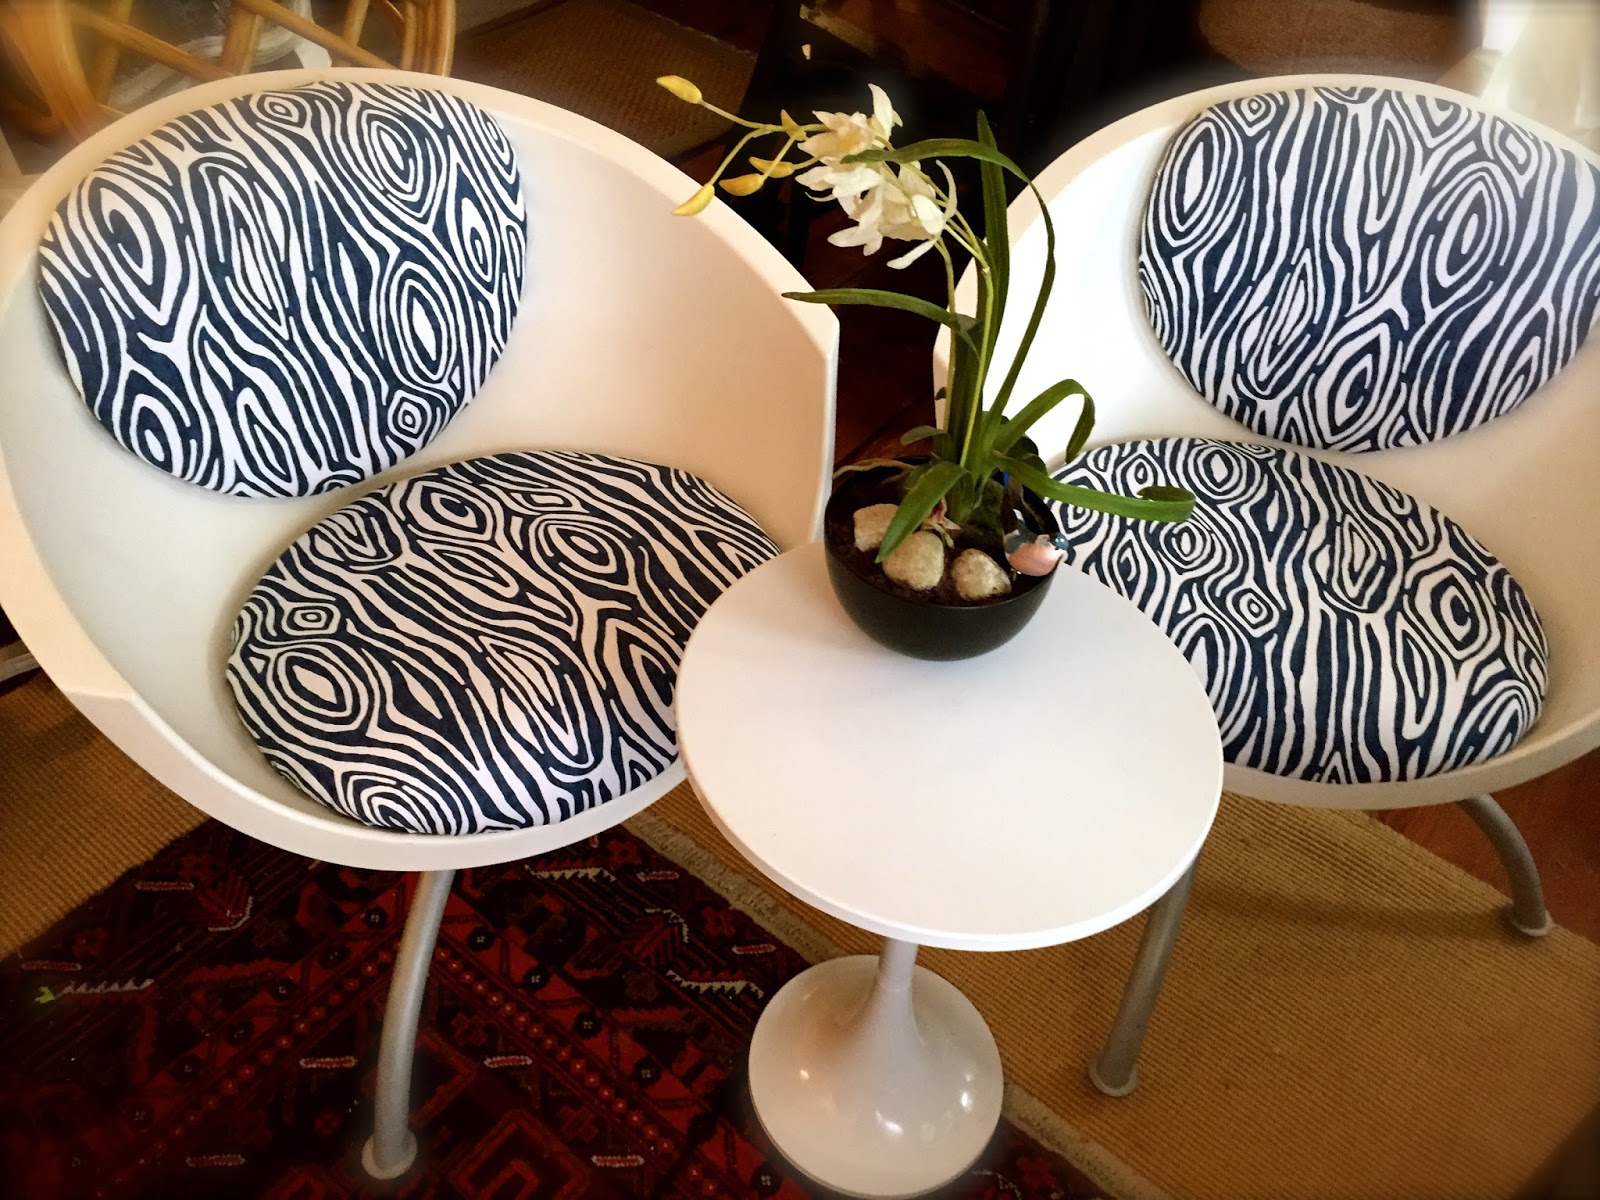
Here they are with a little tulip table.
Set for sale: $199
Little navy pillow: $22
Faux planted orchid: $22
For the other two, I decided on this ikat fabric.
Once again, I cut and covered the cushions in new batting.
Then I cut the fabric a few inches wider on all sides.
 Then I hot glued the edges all around the back.
(Here you can see the bolts that attach the cushions to the chair.
 Not too shabby either!
 Here's the pair: $175.
(Or $199 with the tulip table.)
You can also mix and match.
The four would be killer as dining room chairs 
with an old farm table!!!!!
I love mixing up styles.
Set of all four chairs: $320

Love Love Love these!!!!!!!!!
Oh, if I could just keep it all!!!!

SheShe, The Home Magician
sheilafox@aol.com
804-402-4370

Tuesday, July 7, 2015

Blue & Linen Toile Arm Chair

 I purchased this deconstructed chair at a private sale last week.
 Guts and all! Ha…
Actually, this saves a lot of labor,
because half the work in reupholstery
is removing the old fabric…and nails…
and staples……..it can take hours.
 I had to do a little glueing to the arms..
but structurally, 
the chair was pretty sound.
Before upholstering,
I added a little dry brushing of Duck Egg Blue
to the frame. And waxed.
Then I started the reupholstery work
 by adding some new foam
to the seat.
 
I'm going to use this blue and linen toile fabric.
First the seat….
 Next the front...
 The fabric is pulled to the back and stapled.
 Wow I'm ready to rebuild and finish the back.
I added lots of batting and burlap first.
Here is the finished back after stapling and trimming in gimp.
 I used big nail heads at all the edges.
 Since I had lots of this fabric on hand, 
I used it as well for the dustcover underneath.
 It's finished!
 Beauty shot in my mom's front yard.
 (While I worked on this, 
my mom made homemade applesauce from
that apple tree in the background!)
Here it is in my space at Greenwood Antiques & Uniques. 
I recovered this little ottoman in blue and white to go with it.
Chair: $265
Ottoman: $55

Hope everyone is back in that work groove,
after the long weekend!

Sheila Fox
804-402-4370
sheilafox@aol.com

Monday, July 6, 2015

Rehabbing a set of Quarter Sawn Oak Chairs

Oh,
 I found the most wonderful 
set of chairs at a local thrift store...
 Quarter sawn oak.
Mission style backs.
Check out those barley twist legs!
 The seats were all damaged…
the frames needed gluing and restoring.
You can see how dry the wood looks on the left.
First, I removed the disgusting seats.
These will all need to be rebuilt.
I used wood glue on all the loose joints...
Then I taped until dry.
After they dried, 
I used this: Howards Restor-a-finish in Dark Walnut.
The wood just glows after using this product.
Now all the chairs have soaked up the oil and look consistent.
 
On to the seats. 
After removing the staples and nails,
and ugly covers,
I ended up with this:
A frame, and a plywood piece.
The plywood on all the chairs was not salvageable.
 
So I  cut out new pieces from some scrap lumber I had on hand.
Next I layered batting over the wood, and then this fabric,
which I stapled tight along all the underneath edges.
Nice, heh?
These are pretty utilitarian, not ultra comfy,
but boy, do they look nice!
And they've already found their new home,
paired with this antique pine farm table.
Perfect!