
Earlier this year, my client and friend, Jo,
purchased the sweetest little house!!!
And I had an unusual opportunity:
Several months to get her home in order
before she moved in!

One of the main issues with the home:
So much of it was…
G R E E N.
Jo hates green.
The kitchen walls were green.

And there was a disconnect with the tiled floor,
which had lots of slate blue/grays/taupes…

The window treatments were green.

The upstairs guest bath was…
green.

Even the ceiling was green.

Again, a disconnect with the tan tile….
And two of the three bedrooms were….
you guessed it…
GREEN!
(Sorry, no photos!)
And two of the three bedrooms were….
you guessed it…
GREEN!
(Sorry, no photos!)

My very favorite room in this house
is this little sunken family room off the kitchen….

It has painted pine panelling,
built in bookcases...

…and black colonial hinges/hardware.
So…
here are some of the things I did to get Jo
ready to move in!!!!!!

First, in the little sunken family room,
I experimented with different colors for the inside backs
of the bookcases.

I ended up painting them BM Wickham Gray.

And for all the colonial hardware,

I used BM Revere Pewter.
The room feels light and beachy now!
--with white, light blues and beiges.
(And no black or red!)

All the panelling was freshened up with a coat of BM White Dove.

I removed the dirty carpet runner from
the steps, and painted them in a blue-grey.
the steps, and painted them in a blue-grey.

Moving up to the kitchen.
The cabinets had this fleshy toned pickled finish.
And while the upper cabinets were in good shape,

…the base cabinets were showing lots of wear
and some had water damage…

Ceiling and walls were green.

Jo and I decided the plan would be to paint the
ceiling, walls, and
the base cabinets only.
We sampled many different colors,
from charcoal to navy to pale blue-grey,
on many different areas to determine
what we liked.

DO NOT SKIP THIS STEP!
We ended up going with a color
we really hadn't considered before:
BM Brewster Grey.
(Bottom drawer here.)

After cleaning/sanding and removing all the hardware
and doors,
I primed all the base cabinets.

It's great that no one is living in the house yet,
because it really takes latex paint about 30 days
to cure.

Here is a bank of the finished base cabinets.
They look lovely with the black granite
and antique brass hardware, and the floor.
The walls were painted in BM Barren Plain,
a soft blue grey.

The ceiling was painted in white,
and the top cabinetry was left as is,
except I did faux paint this register to match.
(Previously it was white and stuck out like a sore thumb!)

Beside these cabinets is a cute little-built in,
original to the house.
No before photo, but it and the trim around it
were painted in the same green as the walls.
I trimmed it out in white, and used the same
Brewster grey as the cabinets for the door.

Inside, I painted as well, and
used chalkboard paint for the inside of the door.

Outside, the butterfly hinges on the door had so many layers of paint,
that they couldn't be removed.

So I decided to faux paint them to give them an antiqued look..
After priming, and painting in an espresso,

I used King Gold gilding wax...

To look like age worn bronze/brass.

The kitchen is finished...


oops…almost.

One last observation was the white back door……...

I ended up priming and painting it as well
in the cabinet color.
(sorry for the crappy photo..)
And finally, to the little guest bath..

Again, I painted large swatches
to determine the wall color.

And ended up painting the walls
BM in Carrington Beige.

The ceiling was painted in bright white.

Amazing what an impact a simple
cosmetic change can make in a space!
The edging of the tile now blends in
perfectly with the wall color.

And simplifies the entire room.
All the bedrooms were also painted…….
And,
finally…
it's...

MOVE IN DAY!!!!

Yep,
the day when all your family and friends rally round...

and make this new house...

your new HOME!!

This is the fun part….where empty spaces...

…come to life!!!!!


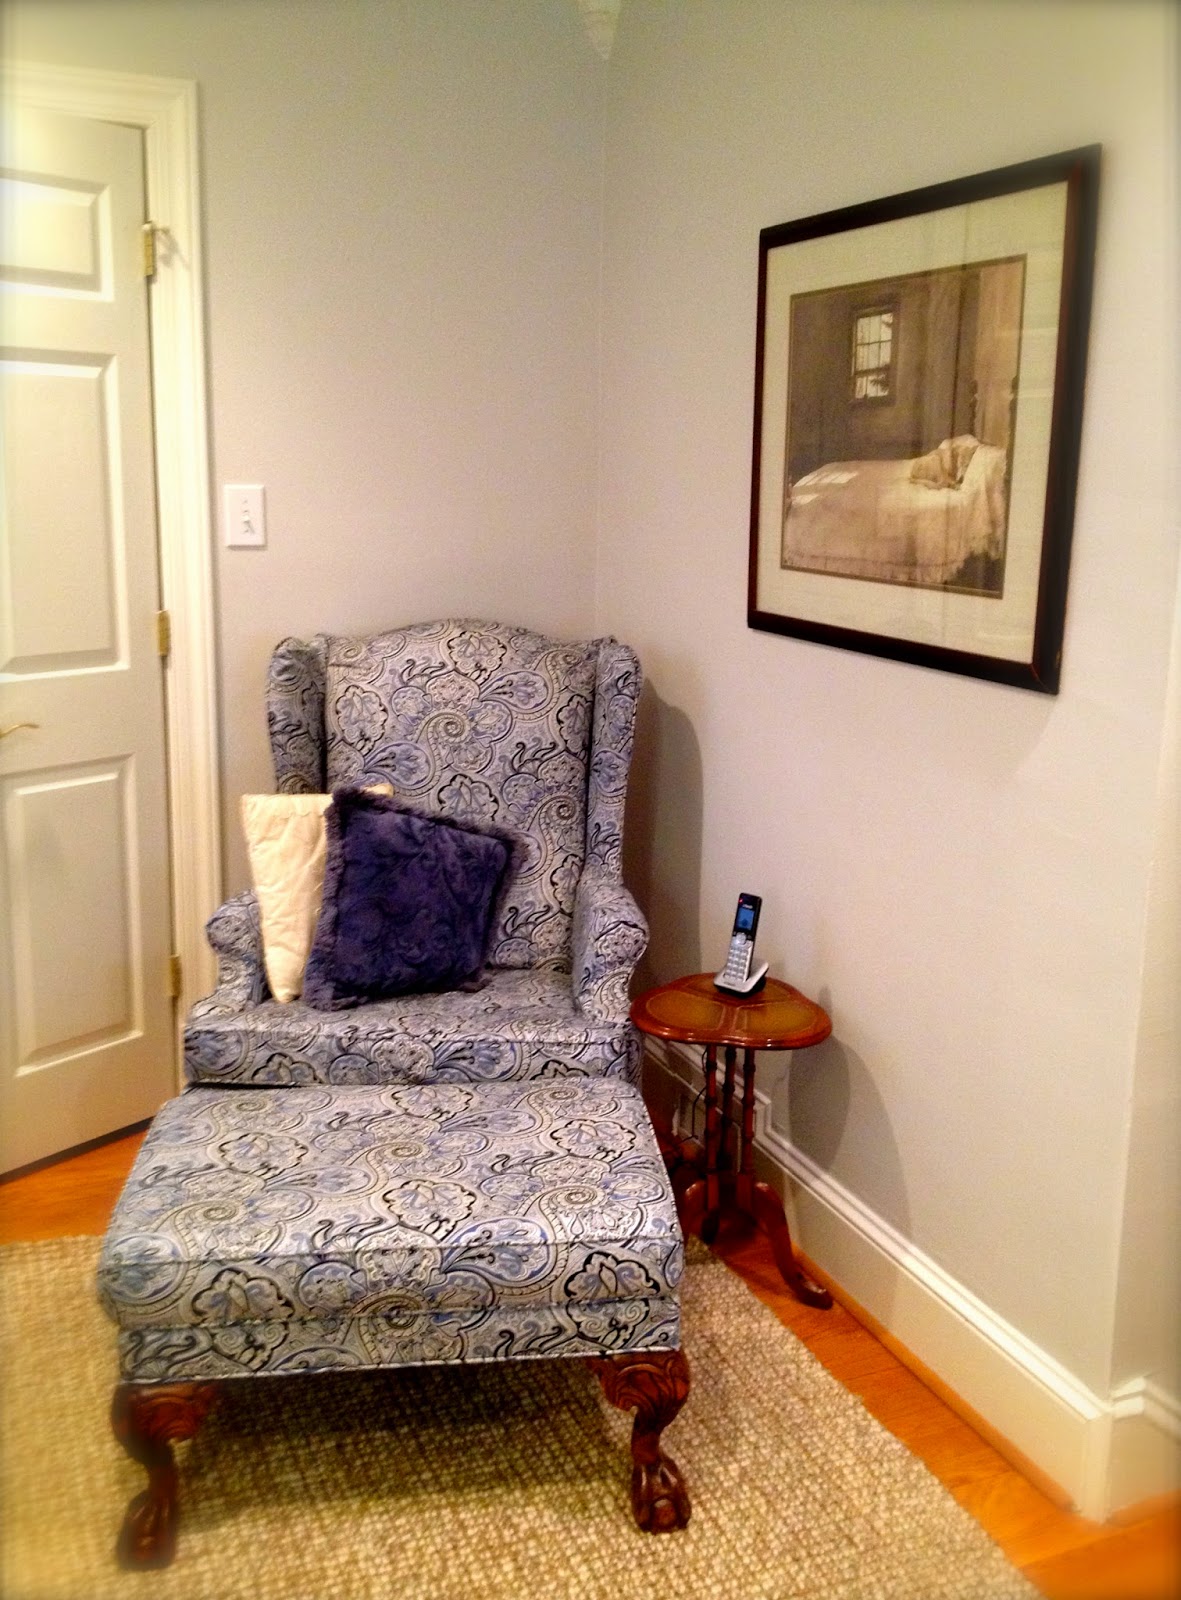


The living room and dining room were about the only rooms
not painted!!!!!

They were neutral enough to work for now..

How cozy and inviting!!!!

These two get major kudos!!!!

It's done, you're in!!!!
What a wonderful home, Jo!!!!!!
We know this is the perfect house for you,
and we wish you loads of happiness here!!!!!


