Friday, May 8, 2015

The Evolution of Buddha

I purchased this recently.
Do I need a Buddha????? 
No…
Why did I buy a Buddha?
 Well,
because I  knew I could make him look better!!!
Right now he's just all black and boring…
there's no depth…
but I see what he could be!!!!!!
I started this transformation 
by sponging him all over 
with Maison Blanche furniture paint in Navy. 
(This is my first use of this paint 
which I purchased at RVA Antiques.
So far, I like it…it's got great coverage,
very creamy…and I love the colors!)
 Next up, 
I sponged on splotches of Annie Sloan Chalk Paint 
in Napoleonic Blue.
(ASCP will always be my fav…….
I've been using it for years..
But it's always nice to try something different….)
 Next, I dry brushed with ASCP in Greek Blue.
 After that dried I added MB Peacock….
and then mixed it with a little ASCP Old White.
Love this color!!!!!!!
 Oh yes………..
He's looking quite lovely…
Here he is after I waxed with clear and Lime Wax.
 Final touch: A little King Gold Guilding Wax 
along some of the edges.
He's beautiful.
And he's an original now.
Light and love to you all.
Buddha goes to Greenwood tomorrow.

Thursday, May 7, 2015

The Bishop's Chairs!!!!!!!!! Beautiful Rehab Without Painting!

 Last week, I picked up this set of furniture from a client.
I couldn't decide whether I should paint them.
A quick FB poll gave me the answer:
NO!

 So there shall be no paint.
(On the chairs anyway. I'm going to finish them as a pair.
And I'll finish the settee at a later time….)
Now time to deconstruct.
The webbing is hanging down,
and the springs are loose.
 The cushion in this chair is so uncomfortable, 
I just decided to rip everything out and make a new cushion.
I removed the webbing, 
and cut and removed all the springs,
and then all the horsehair/straw/burlap.
 Oh, and about one million tacks……….
The frame is pretty scratched and beat up...
Secret weapon:
Howards RestorAFinish.
Have you tried this? 
It's amazing!!
Before:
And after.
Look at the beautiful richness of the wood!!
Time to tackle that seat.
 I made a paper template of the seat 
and traced it onto thick plywood.
 Then I used my handy dandy jigsaw to cut out the seat base.
 Perfect.
 I added a layer of foam, a down pillow, and a couple of layers of batting,
which I pulled tight and stapled to the bottom of the plywood.
 
The new seat cushion is ready for upholstering.
I have a little remnant of this ikat fabric.
 Luckily, there is just enough to do the two chair seats.
I'm going to reverse the print on the 2nd chair.
 I'm going to have to disquise that front edge, though, 
with all the nail holes.
So I edged the fronts with a strip of thick trim 
and added pewter nail heads on either side.

I'm SO glad now I didn't paint these!
(Thanks, voters!)
They will be traveling to Greenwood this weekend.
For Sale: $299/pair.

Monday, May 4, 2015

Zebra Makeover for a Pair of Flea Market Chairs

 I purchased these chairs at a flea market in Ladysmith last month….
I don't know what they used to put on this double welting, 
but I literally stabbed myself in the palm
with a screwdriver trying to get this stuff off!
 It was the worst part of this makeover!
I painted the wood frames…
 After distressing, waxing, 
frames are done.
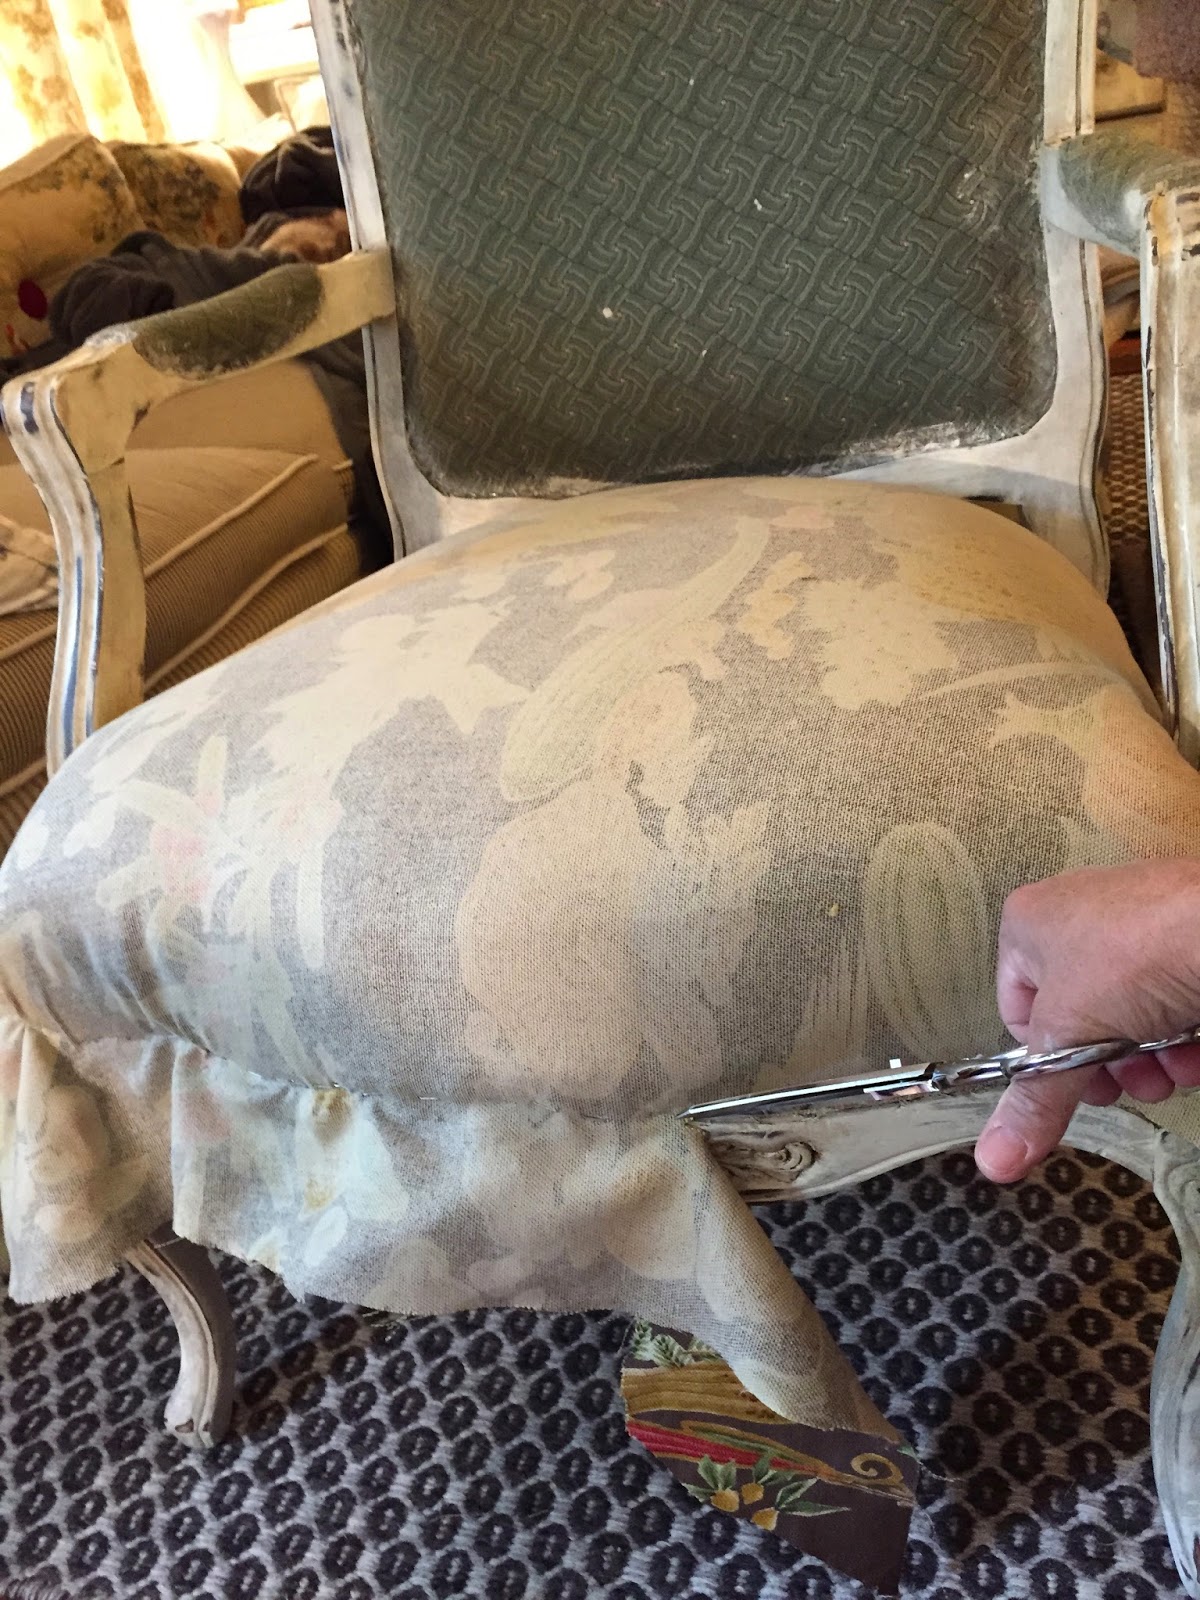
 I did away with the separate cushion. 
I added some extra batting,
then tightly covered
and stapled to secure the seat.
 Here it is, all nice and plump and ready for covering.
L O V E this fabric…….
I'm salivating all over myself.
 
Wilma feels the same way.
Front and bottom done.
 
Now for the arms...
I made piping and followed the existing fabric
as my template.
Then I glued/tacked on the arm covers.

 To cover all the staples, 
I cut and ironed strips from the same fabric.
I folded over all the raw edges, ironed, then glued in place.
I used oversized pewter nail heads for reinforcement.
And for the back,
I used a coffee bean sack.
Side one...
…and side two.
 One of my favorite makeovers…
I'm a sucker for frenchy chairs...
I do believe these are S O L D !!


Friday, May 1, 2015

A Rehabbed Vanity in TURQUOISE

Remember these frenchy chairs I did recently?
Well yesterday, 
I tackled the vanity….
Boy this thing has been well used from the looks of it…
It has a dated metallic gold finish….
But check out these ring pulls!!
Each drawer features a different scene.
I covet them!
See the hint of turquoise in the ring?
I'm going to use a similar color to paint this piece.
Annie Sloan in Provence.
So long gold finish……….
Hello Provence!!!!!!!
 All painted.
I did some "wet sanding" to distress and pull out the gold...
Then I waxed with clear and dark waxes...
And buffed to bring out a lovely sheen.
Along the distressed edges, 
I used a little King Gold gilding wax on my finger to lightly
"hit"….takes very little and you don't want to overdo!
I think it's perfectly lovely!
Here you can see it with the fabric from the chairs.
Beautiful little turquoise piece. 
(Someone even attempted to buy it 
while I was outside working on it.)
Sorry, this is Stephanie's, 
and it now lives with her frenchy chairs.
In lovely Bon Air.