Wednesday, September 19, 2012

Signs for Tara and SheShe!

Wow, talk about blogger's block, 
I've had it...
It started out with a sick mom.........
then I got behind,,,
then I got really really busy...
and then, well, it had been so long, I didn't know how to start up again!!!!!!
So I didn't.
As with everything, we must take little baby steps....and so, I'm taking one today.
Just a little one.

To show you a couple of signs I've made this week.

This one is for my friend, Tara. 

Like me, she's a dealer at Greenwood Antiques and Uniques...and the name of her company is...well guess..

I had made some pillows for her a couple months ago, out of some old feed sacks.  
I decided to take one of the images and use for a fun sign.
I used a piece of  plywood I had rescued from an alley. 
I painted it in Annie Sloan Old Ochre. 
Next, using carbon paper, I traced out the design, along with type I printed from my computer. 
And then hand painted everything in chalk paint.  

Afterwards, I sanded and added stains and some dark wax to age it...
(Yes, I know it's a rooster.....he's admiring.....2 cool chicks!)

 So now my creative juices were flowing. 
And I had been wondering what to do with a couple of these old mannequins...
And an idea blossomed.  
I love when that happens....
First I drybrushed some Versailles chalkpaint over the mannequins.
 Then I used the same technique - traced letters and painted them in chalk paints.
 And look!  
They're now nontraditional signage!!
Here they are at the top of my booth at Greenwood.
I love them.
It's like they're standing guard.

Thursday, July 26, 2012

Romantic Pink Bedroom Makeover

My friend and client, Daisey, and I are kindred spirits.
We share the same birth sign, Cancer.
We both share a background in advertising production; I was in broadcast, and Daisey, print.
We both enjoy red wine....(and we have, on numerous occasions!)
And we're both very domestic and love our homes.  
It's important for us to have our little sanctuary, our safe place, to retreat to.
So when Daisey asked for my help with her master bedroom, I beamed.
She didn't want an extensive rehaul, just some sprucing up.
I wanted to make this room a special haven, all sweet and comfy for her!!!!
Take a look at where it all began:
As you walk into the bedroom, you see the side of the bed.
Across from the bed, is a double door frame into Daisey's large dressing area.
She has open bookcases and clutter that is destroying her tranquility!!!
 To the right of the doorframe, she has a dresser and a vanity. 
 Because of the dark furniture, 
it feels like all the weight is over on this side of the room.
And here again, is the bed, photo taken from the double doorway.
At the foot of the bed is a cedar chest. 
The only window in the room is dressed with a chintz swag.
 My first recommendation was a headboard, and a rearrangement of furniture.
Since space is at a minimum in this room, I suggested a headboard, and no footboard. 
 In a previous blog, I showed you the headboard I revamped, from this...
To this....I painted the bed in Annie Sloan Old White chalk paint, 
and then upholstered the bed in a pink and white pinstripe. 
I found new bedding...
..and new light ruffled curtains that replaced the dated window treatment. 
I positioned the bed on the other side of the room, at an angle,
so that it is now the focal point as you enter.
It opens up the room dramatically. 
To the right of the bed, I put the vanity.
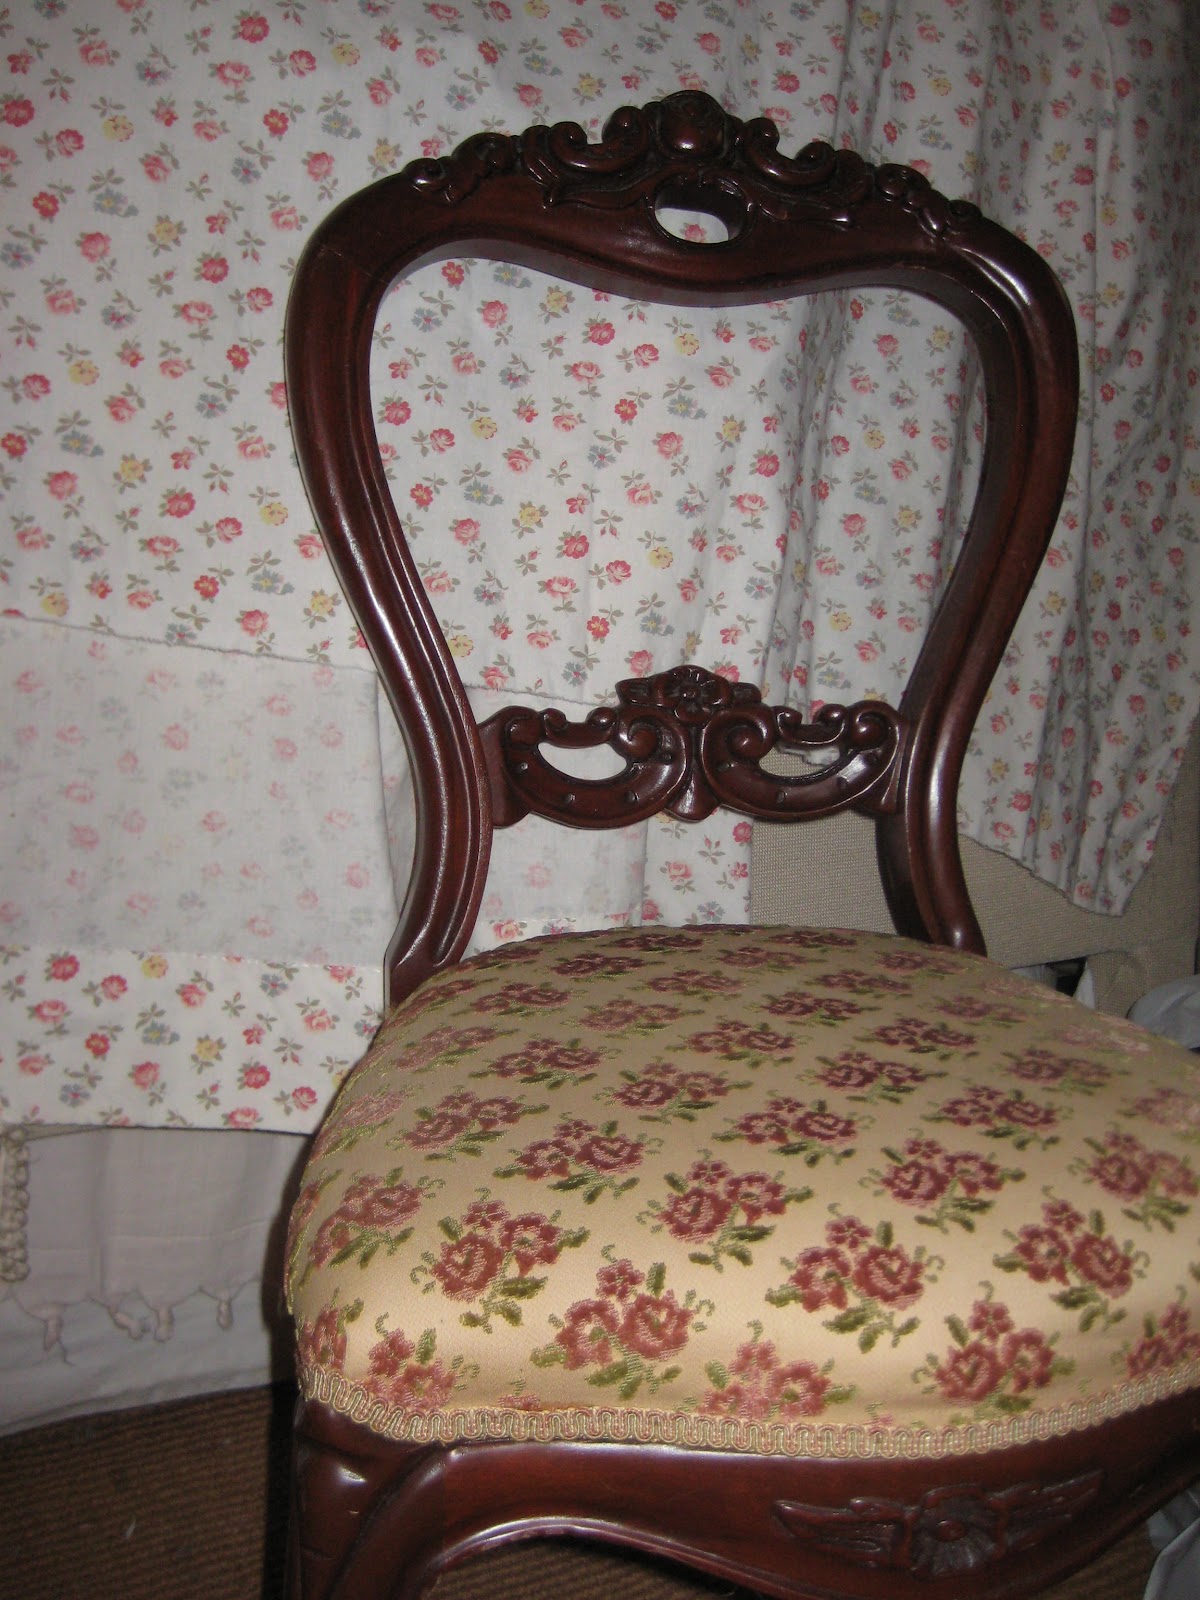
I found this little victorian parlor chair...

And reupholstered it in the same pinstripe, 
and added trim.

The tri-mirrors on the vanity, and the open chair back
 keep the space from feeling too heavy.
Across the room, where the bed was originally, I placed the tall
chest of drawers, 
and to the right of that, against the wall, I placed the cedar chest.
 Pillows atop, and it becomes a mock window seat.
I hung this original art found in another room above the chest.
It's nice to have a little pop of yellow.
 Back to the bed...I first tried hanging sheers behind the bed, but it wasn't
providing the privacy Daisey wanted. Also, a lot of light
comes in from the back dressing room/porch.
 So I came up with this idea: I hung a duvet cover from a rod
above the doorway. No sewing required!
 I simply hung it from clips, so it's easy to open when Daisey wants the walkway clear...


 And easy to close when she wants complete privacy.
 I love the new quilt and shams with Daisey's existing ruffled pink sheets.

This is the sweetest little bedroom.
Sweet dreams, Daisey!


Tuesday, July 24, 2012

Rock-a-bye, Baby: Rehabbed Rocking Chairs


Christa and Matt are expecting their first baby soon!
And what's the number one requirement?
A great rocking chair!!!!!!!!
 
Actually, thanks to Grandma and Grandpa, they're getting two!
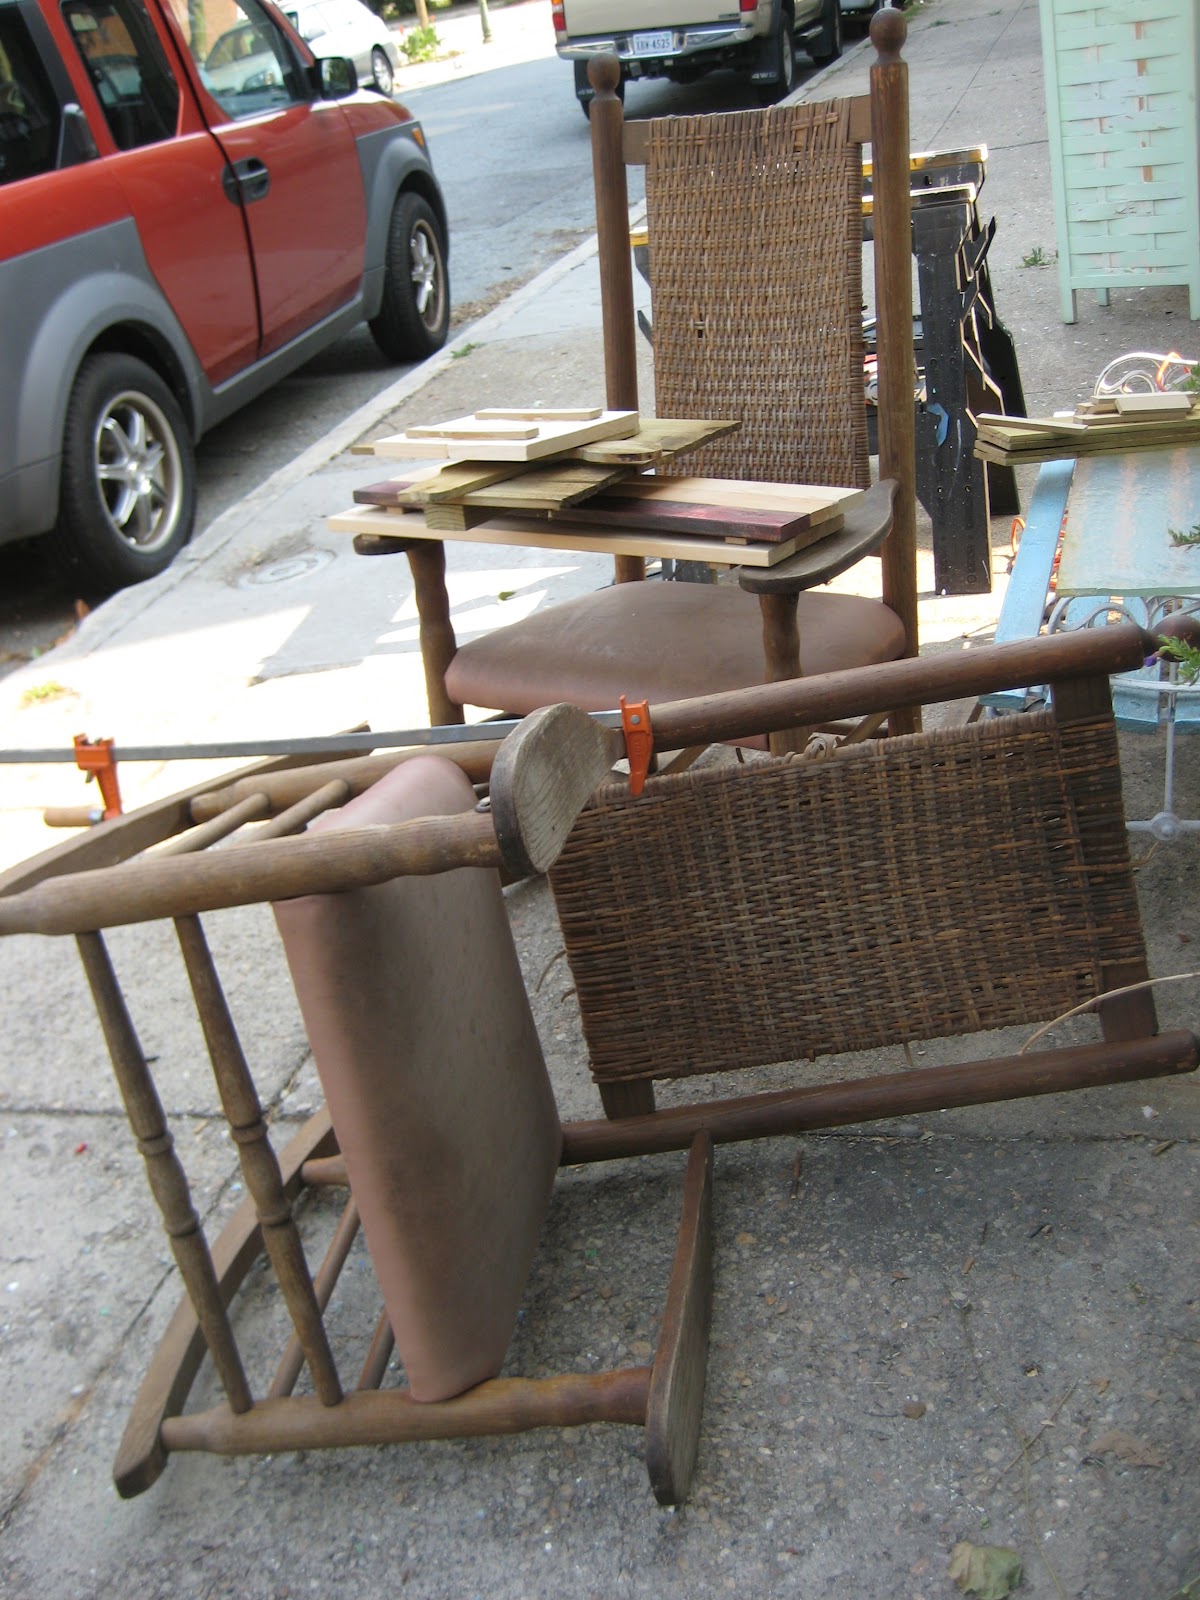
They're not so great looking just yet. But they will be!
First I glued all the loose joints.
 Next, I got out the sander - much needed!

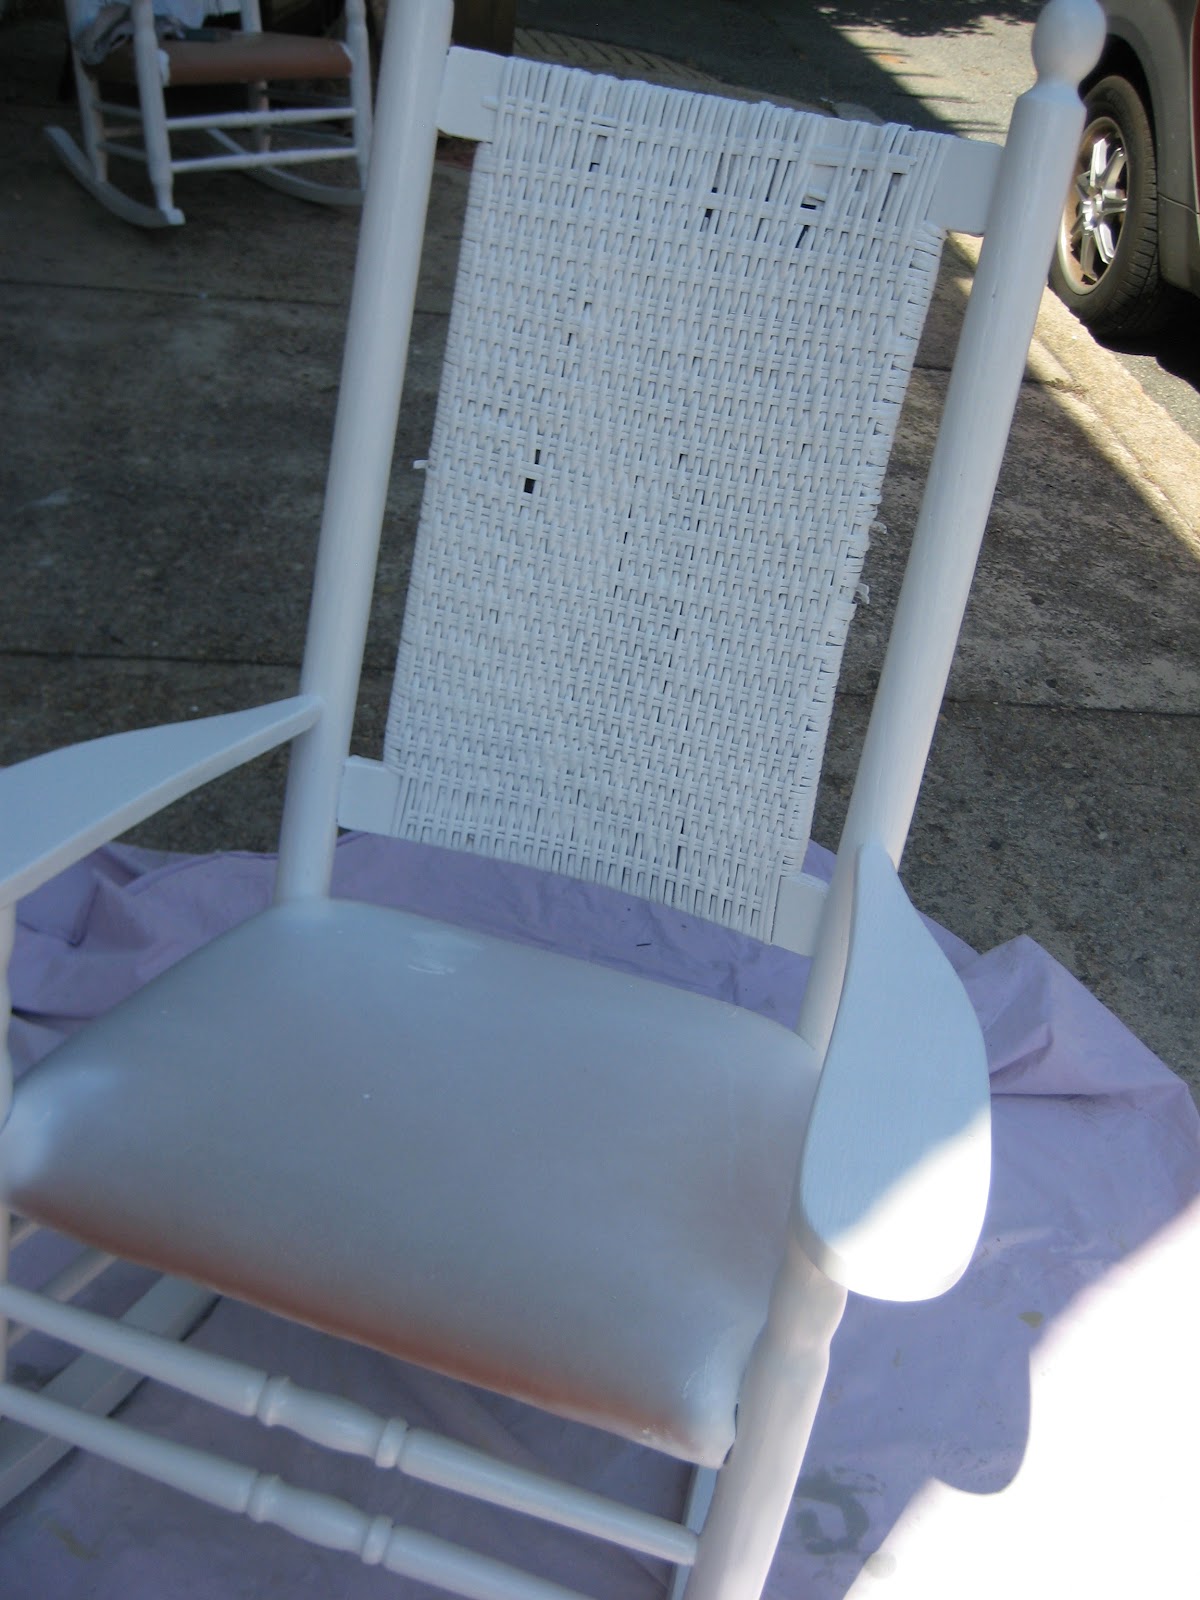
After priming they look like this.

 ...and after a coat of semigloss white.
 And here's the chair after I upholstered the seat and back in this great
green and ivory graphic fabric.
 I added chunky pewter nailheads to secure the backs.
 Who needs new when you can have rehabbed?
These are quality pieces that will last forever!
Delivered to the front porch of Christa and Matt's new home.
Soon, it will be Rock-a-bye, baby time!!!
Good luck, you two!!

Sunday, July 22, 2012

Updating a Slipper Chair

So remember Nancy's sweet little slipper chair?
Right out of the 50's with this shiny quilted fabric!
Here's what it looked like in it's old home.
 
And this is the new home where it's going to be living........
I picked up the chair late last week and decided to tackle it over the weekend.
First I ripped off that little ruffle along the bottom edge.  
We'll make it much more contemporary by showing the legs.
Next I added a layer of new foam 
around the chair top to hide the lines of the existing upholstery.

I just wrapped around the top and stapled along the back edge.
(Yes that's CARDBOARD!!! 
Hey, I don't make 'em, I just redo them...)
 
Here's the new fabric going on......purchased from UFab.
And here is the final product.

 Detail of the onion fringe along the bottom edge.
 Piping along the back piece.

So improved!
Another part of Nancy's new home transformation completed.
Stay tuned for more! Plenty to come!