Tuesday, October 6, 2015

Revisit: Staging and Preparing a Home for Resale

Okay,
if this were your home,
and you wanted to sell it,
what would you do?

My client, Kathy, asked for my help 
on what could be done 
to get this house in shape to put on the market.
Take a look:
You enter into the living room,
where it's dark,
the window treatments are dated,
the furniture is in poor position.
The first thing I notice:
This dated slatted partition with 
grasscloth wallpaper in terrible shape.
Here's the reverse angle.
And although I love grasscloth,
this is in such bad shape, 
it needs to go.
On one side of the living room,
beneath the picture window,
is the sofa.
 On the other side of the room,
a large dark hutch.
This is just not an inviting room at all.
We're going to fix that!
 In the back of the living room is the den.
It's like a dark hole..
dark pine panelling…
dark furniture..
a brick fireplace,
and a large rug that doesn't go with anything.
 There is a bookcase insert (used to be a window)
that is lined with smoked glass.

Oh my,
how can we bring this home into this decade??
Is it too far gone to ever be presentable again?

Why of course not!
Take a look at the AFTER:
Yep, this is indeed the same house!
I couldn't WAIT to get rid of those 
vertical slats! 
I sawed them right off and then patched the wood.
I also removed all the grasscloth wallpaper.
Yes, a chore…
but well worth it.
I painted the walls in the living room
in Benjamin Moore Alaskan Husky
and all the trim in White Dove.
It's beautiful and fresh!!!!
I removed those dated window treatments which
immediately brightened the room.
And under the window,
where the sofa was,
I placed a chair and small table with lamp.
On the opposite wall, 
I moved out the huge hutch, 
and placed the sofa.
Now you can actually look out the window when you're seated!
Using all of Kathy's art pieces,
I created a montage above the sofa.
And flanked the sofa with end tables and lamps.
I brought in a secretary and chair that I catty cornered in the back,
and I moved in the rug from the den.
This living room is totally warm and inviting now!
In the den area,
this dark space….
was totally transformed as well.
I primed all the paneling with a shellac based primer,
then painted everything in Navajo White.
I added beadboard to the back of the bookcase,
to cover that smoked glass,
and painted it in a pale aqua.
Then propped with all of Kathy's pieces…
I rearranged furniture.
And once again, 
a totally inviting space!

Yes, the house sold!
Kathy now lives in Florida.

Need help getting your home ready for market?
SheShe, The Home Magician
Sheila Fox
sheilafox@aol.com
804-402-4370


Saturday, October 3, 2015

Cozying up A Cold Basement Den Into A Warm Retreat!!


So yesterday I blogged about my client, BJ's, 
kitchen spruce up.
Today, I want to show you what I did in her basement.
Here you will find a pingpong table,
with bookcases all around it.
In the back is the den area.
To the right of that is what will eventually
become "the library."
But the den is the space I'm going to be working on today.
Now when I first worked here back in July,
the den looked like this.
I moved the "too large" area rug up to the sunroom.

 And moved the lighter colored sofa to the back wall.
So this is what the room looks as I begin today.
And here's what I did: 
First, I moved out these tall bookcases from the 
game room area.
I moved this barrister cabinet in it's place.
It is more compact, looks nicer,
and isn't as deep as the bookcase,
so it's easier to maneuver around the pingpong table.
 I took the two bookcases, attached them side by side,
 to create a wall.
(These haven't been staged yet…
I'm just getting them into position for now…
and the books off the floor!)
Now this wall of shelves...
  faces into the "library."
And it separates this area from the den.
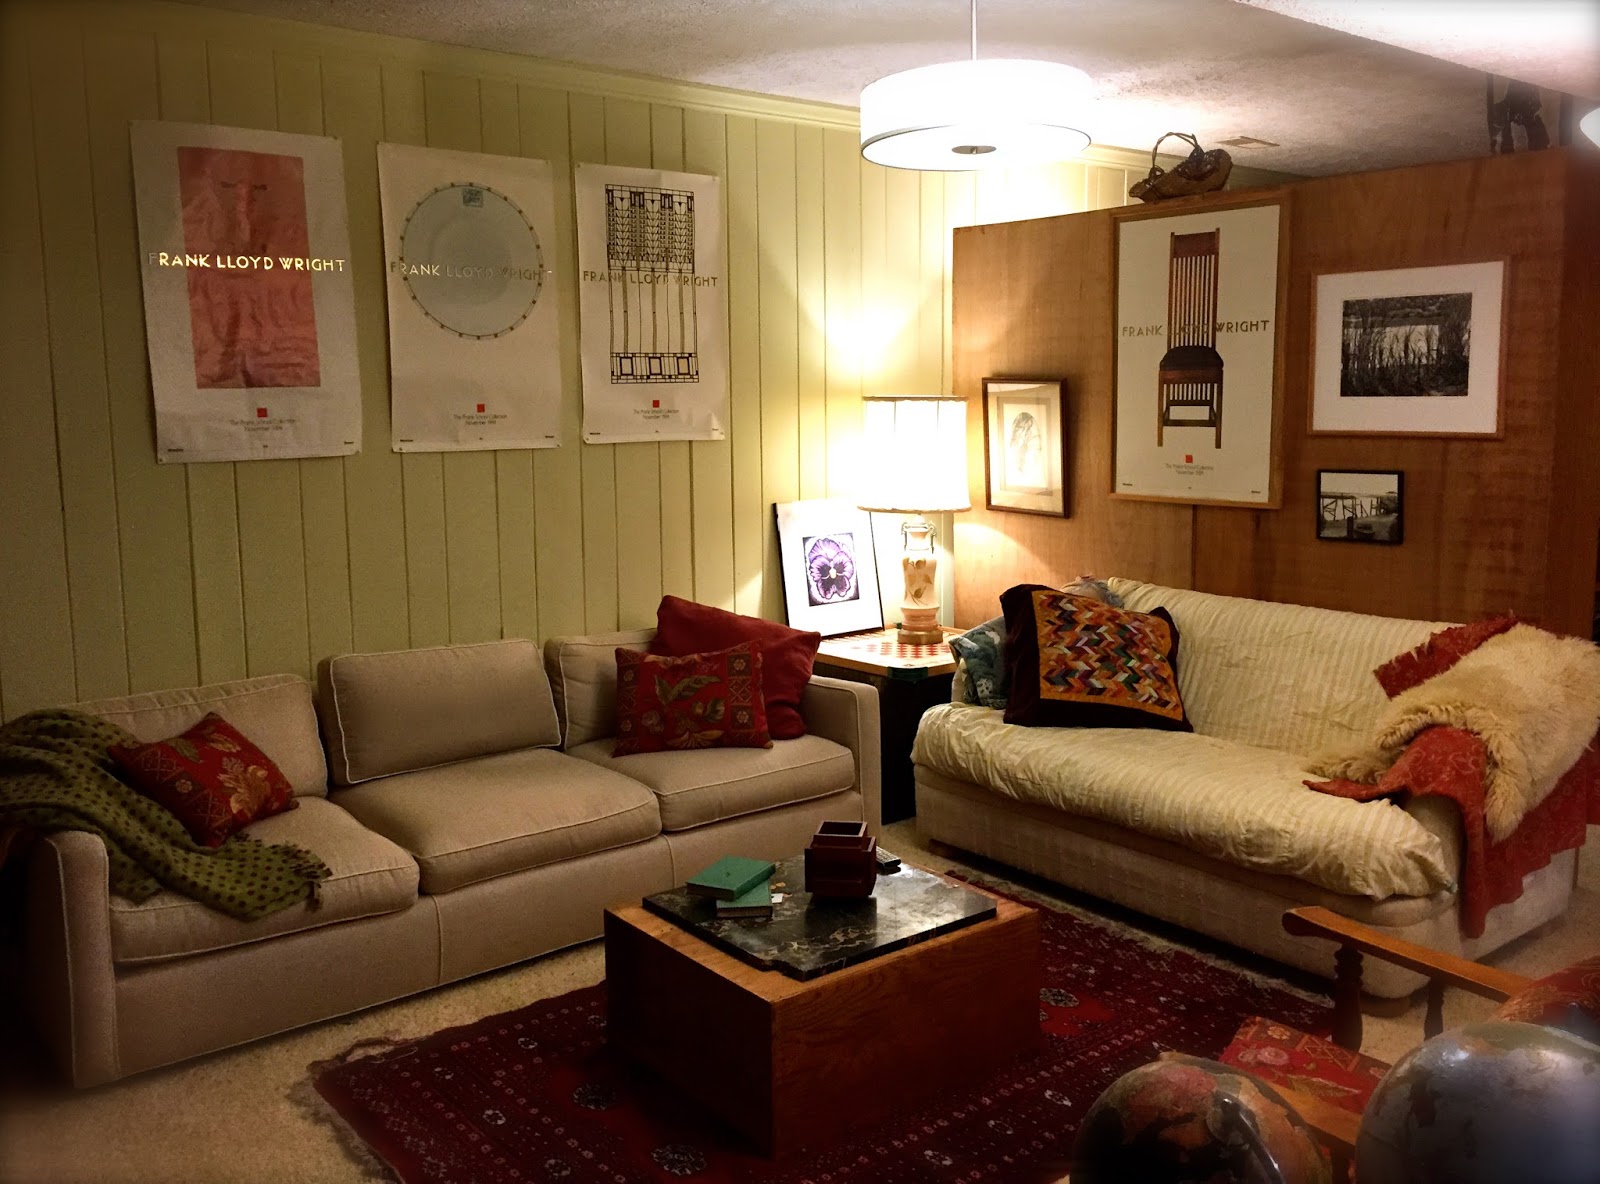
 And here is the new den!!!!!!
 Isn't it inviting now??
WOW!
 Here's the back of the bookcases.
 I used it as a freestanding wall and hung artwork.
I positioned the loveseat on this "wall."
I removed that dark green slipcover,
and used a quilt to cover it.
 Then I added pops of red all over to warm up this space.
I found this rug rolled up in the garage. 
It's the perfect size,
It doesn't compete with the awkward hearth 
that juts out in the space.
And the new coffee table??
That's a small bookcase that I turned over so that the back is the top.
And I found a piece of stone to put on top.
I put the storage chest over in the corner,
between the loveseat and sofa.
And added a carrom game board for a top.
And brought in a lamp,
which really warms up the space.
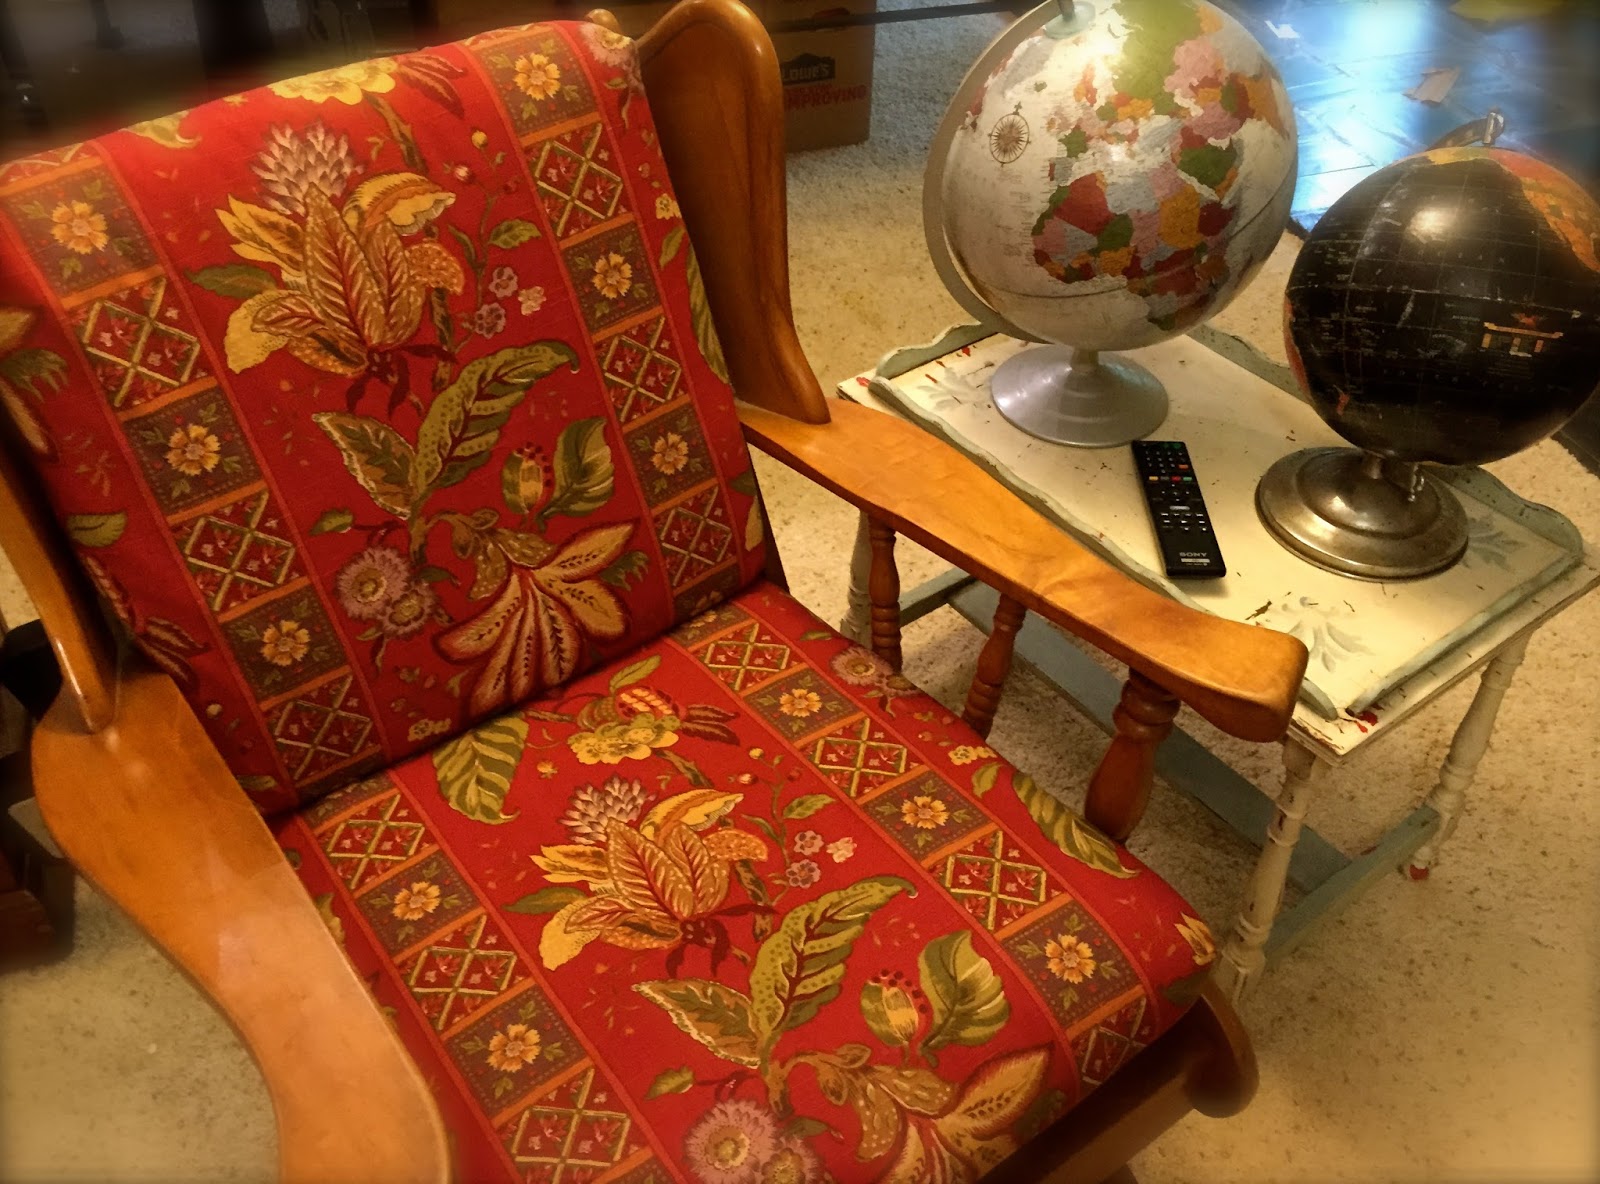
The colonial maple rocker got new duds.
 I whipped up a couple of cushion covers 
from this rich botanical fabric BJ already owned.
 
And I made throw pillows in the same fabric
to add to the sofas.
 I layered lots of textiles:
Throws and furs.
The red accessories pull in the brick and stove,
and make this feel like one cohesive space.

This makeover is a great example
of how you can totally reinvent a space just
by reworking pieces you already have.
I bought nothing!

 So crank up the stove,
and snuggle up in your wonderful new den!


Have a room that needs help?
SheShe, The Home Magician
Sheila Fox
sheilafox@aol.com
804-402-4370


Friday, October 2, 2015

Reworking Kitchen Storage with a Revamped Vintage Cabinet


 While I was in Greenwood this past week,
my client, BJ, had me back over to her house 
to do some work in her kitchen and downstairs den.
I love repeat business!
My first assignment on this visit is to declutter
this area in her kitchen.
At present, she is using this utilitarian 
shelving unit for all her wonderful pottery,
many her own pieces…
it works fine, but is sort of messy.
 
The last time I worked at her house, 
I suggested painting this piece.
Today I'm going to transform it into
a beautiful and functional display piece
to hold all her delicious pottery.
Also, this little chair needs some work.
The seat is spent…springs are okay,
but it needs reupholstering.
I tackled the chair first.
I rebuilt the seat with foam and batting,
and then upholstered the seat in
this green chenille remnant.
 Now it looks good AND sits great!
One down, one to go.
 
I started this cabinet transformation
by painting the exterior in Annie Sloan Chalk Paint
in Country Grey.
Inside, I used a custom mix of Maison Blanche
Peacock with ASCP Country Grey and Old White.
Next, I painted the exterior in ASCP in Old White.
 I've found when painting dark wood white,
a base coat of a slightly darker tone is better than white.
Then layer it with a top coat of the white paint.
It hides the wood better, requiring fewer coats.
Here's the beautiful hue of the inside.
After waxing the interior,
I started adding all of BJ's pieces.
(Because the shelves weren't completely dry,
I added a liner of wax paper to protect the finish.)
I suggested adding cup hooks to the inside top for all of her beautiful mugs.
So that is the plan after a run to the hardware store for more cup hooks.
For now, 
I placed most of the cups atop the cabinet.
Loving the way her kitchen looks now!
Love the turquoise interior with the green walls.
It's cheery!
This old cabinet turned out to be
the perfect storage solution!
Don't you just love when that happens?
When you can rework something you already own?

Tomorrow
I'll show you what I did to the basement!!

Have a room that needs work?
I can help!

SheShe, The Home Magician
Sheila Fox
sheilafox@aol.com
804-402-4370