So my neighbors' daughter is moving to DC for her first job/apartment
after graduating this spring.
Her mom asked if I might be interested in helping to set up her apartment.
But of course!
She already had a queen mattress/boxsprings,
but needed a bed frame.
She had a couple of existing pieces,
but nothing that "went together."
The mission:
Build a bedroom that looks cohesive and is functional
on a limited budget.
Take a look:

Here's "my palette:"
Her empty bedroom……..
(That's her cute mom in the corner.)

Reverse angle.
It's not a really large room,
but certainly big enough for a queen and some storage pieces.

The first piece I found was this awesome queen sleigh bed
in excellent condition.

It even had all the slats,
just missing four bolts.
Cost?
Freebie in the alley!

I toyed with painting this,
but the wood was in such great condition I elected to just
rub it down with Howard's Restor-a-finish.
It's beautiful.

Next,
this pleather storage bench was a toss-away.

This will be great for added storage.

I upholstered it in this neutral ticking fabric.

I rebuilt the top with plywood, foam and batting
so you could also sit on it.

At the foot of the bed,
this will be the perfect place to sit and put on your shoes.

Lift the top up for lots of storage.

These were two pieces she already had.

I used scrap lumber from my garage...

Distress painted each slat in different colors...

Sawed and nailed them to the sides and top.
Then stained to age.

Perfect nightstands.
Or they can be stacked and used as a tower storage unit.

Another piece to use as storage:
This lateral filing cabinet with deep drawers.
A craigslist find.

I painted the piece, hardware and all,
in Annie Sloan Chalk Paint.

Be gone, shiny veneer!

Even though the surfaces were flat,
I created lots of dimension by using three different paint colors.

Here's the other existing piece they already owned...

An antique chest of drawers with lots of wear and tear.

I did a similar treatment as the file cabinet...


They wanted to preserve the antique hardware.
Here it is all finished.

Then I went in search of bedding that would work with
the pieces I had created.
I took a sample of the ticking with me…
and found this quilt set...

…and these drapes.
She's all moved in!!!!

Looks pretty great.
I suggested that she stack the two nightstands and
make a storage tower on the other side of the room,
then move the chest over a bit to use as a nightstand.

The storage ottoman
at the foot of the bed works perfectly.
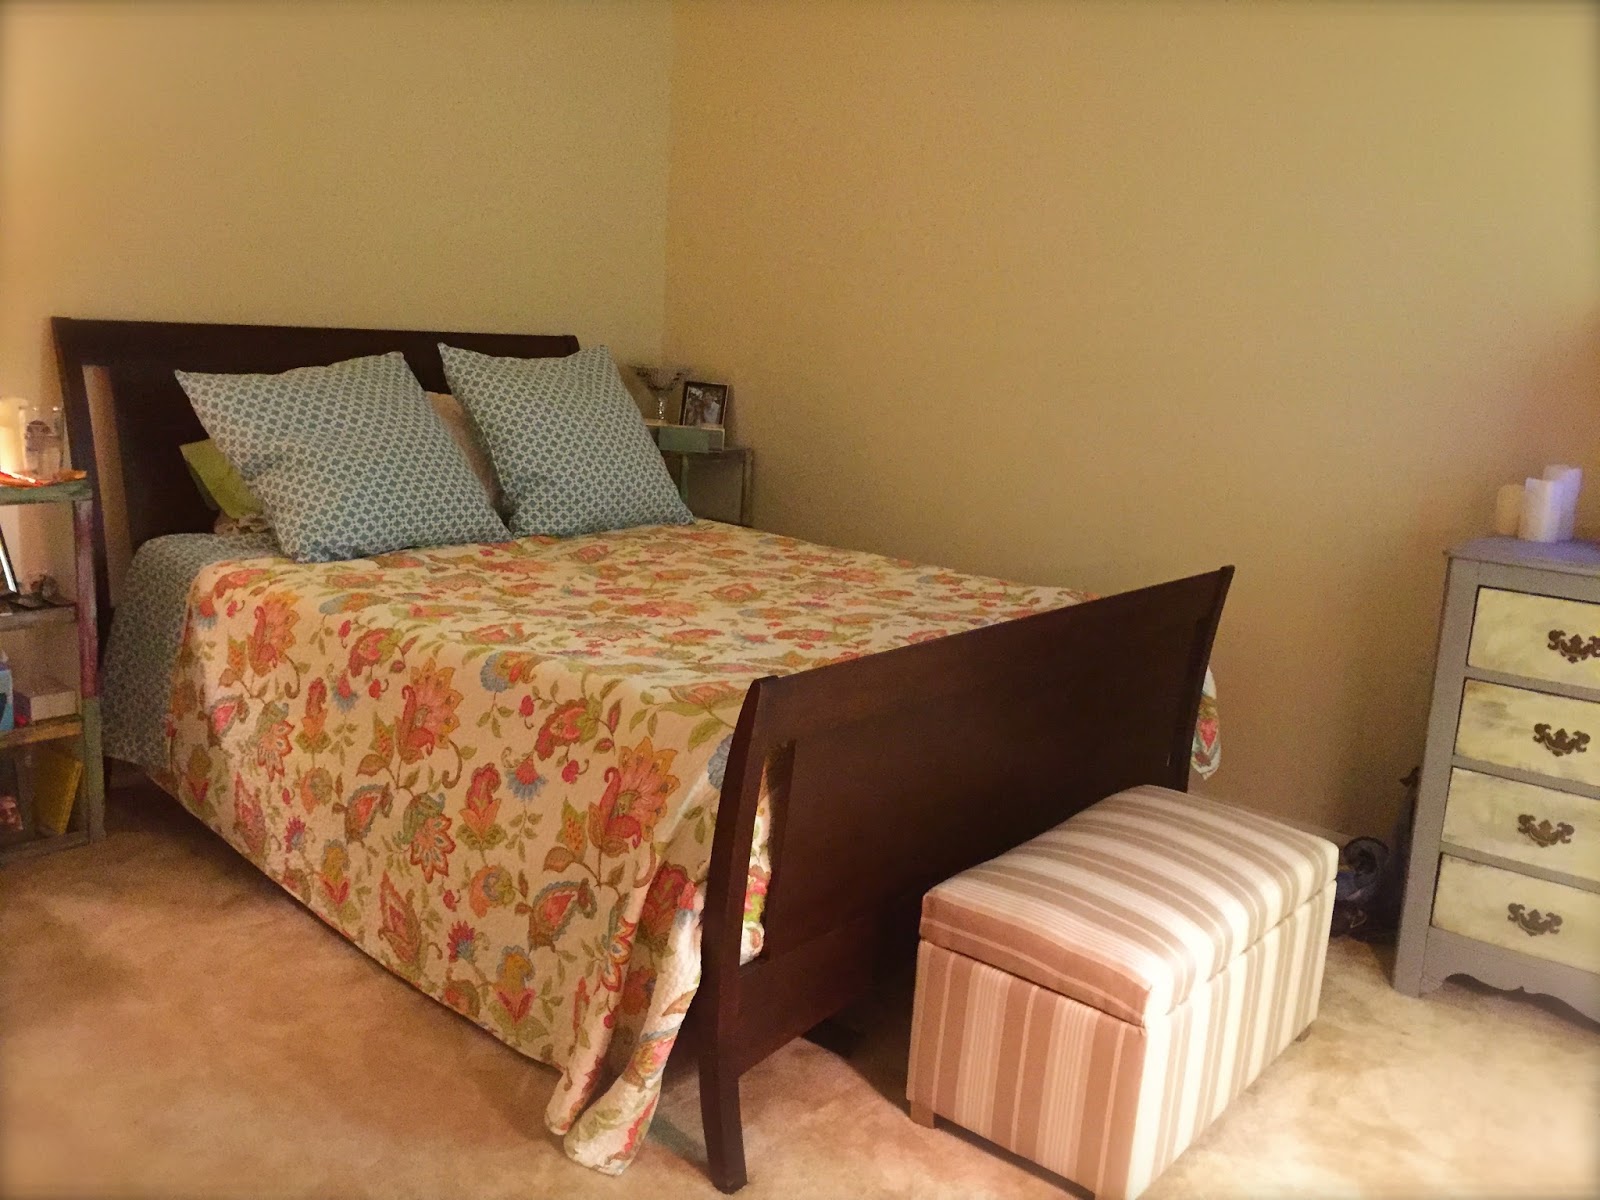
All she needs is some art,
and she will have the perfect room!
Welcome home, Kathryn!