Tuesday, April 24, 2012

Recipe: How to Make a Headboard from Scratch!

After I posted Daisey's living room makeover a week or so ago,
 my friend/client, Frances, called. 
"Help!!" she said.  "I'm having a houseguest and my guest room is so not ready."  
She especially loved the window treatments I hung in Daisey's living room 
to lighten and update the space.
(I LOVE when client's call with work after seeing one of my makeovers.  
Makes me feel like.....you know....
someone is actually reading this stuff!)
 So....
I've been very busy this past week pondering and inventing and shopping........
and sawing and priming and painting and sewing and hanging...
I finished the room today, but Frances doesn't get home until tomorrow...
So... 
the room makeover will have to wait because I don't want to spoil her surprise.
BUT...
I can at least show you this cool headboard I made for her.

RECIPE:
Begin with one old door...
Measure and cut to size for a queen bed.
Add a nice coat of good primer. 
Your door should look something like this..........
Here it is all primed.
I measured the height of Frances existing mattress/boxspring,
then measured, cut, attached and painted plywood legs so that most of the door will still show once it's in place..
The legs also add support. I drilled holes and will attach them with bolts  to the metal slots in the bed frame.
Next, add some decorative pieces.......I used some fleur de lis doodads...
Finish off with some decorative moulding.

Here's the headboard,
painted then lightly sanded.
And here it is after distressing, and waxing.
See how the details pop with sanding and dark wax?
And here it is in situ!!!!!!!!
Just a tease.........stay tuned for the entire reveal tomorrow!!!!
You won't wanna miss this one!

Monday, April 23, 2012

Paint. It's not just for furniture!

Yesterday was a complete wash......well actually, it was just rainy. 
I never left the house......
Naps, fire, PBS...a little sewing.
No outdoor painting...BUT....just because there's a little rain in the forecast 
doesn't keep me from getting out the paint cans.......
(My stairwell looks like this:  I call it the "Paint Department."

ANYTHING can be transformed with a little paint.
It doesn't have to be a piece of furniture.
Check out some of these before and afters:
BEFORE: Fun posts of different shapes and sizes..
AFTER: With various Annie Sloan chalk paint colors,
these become art!! They now decorate a garden at a B&B in Charlottesville.
BEFORE: Ugly bird art...
AFTER: Funky lawn art with a topiary added....

BEFORE: I scarfed up this ugly-ass owl lamp base at a Goodwill in NC.
AFTER: West Elm, eat your heart out!
BEFORE: Ugly painted Cleopatra bust.
AFTER: Alabaster bust!!!!! (Annie Sloan chalk paint in Old Ochre.)
BEFORE: Ugly wood shelf...
AFTER: Cute shabby chic display.
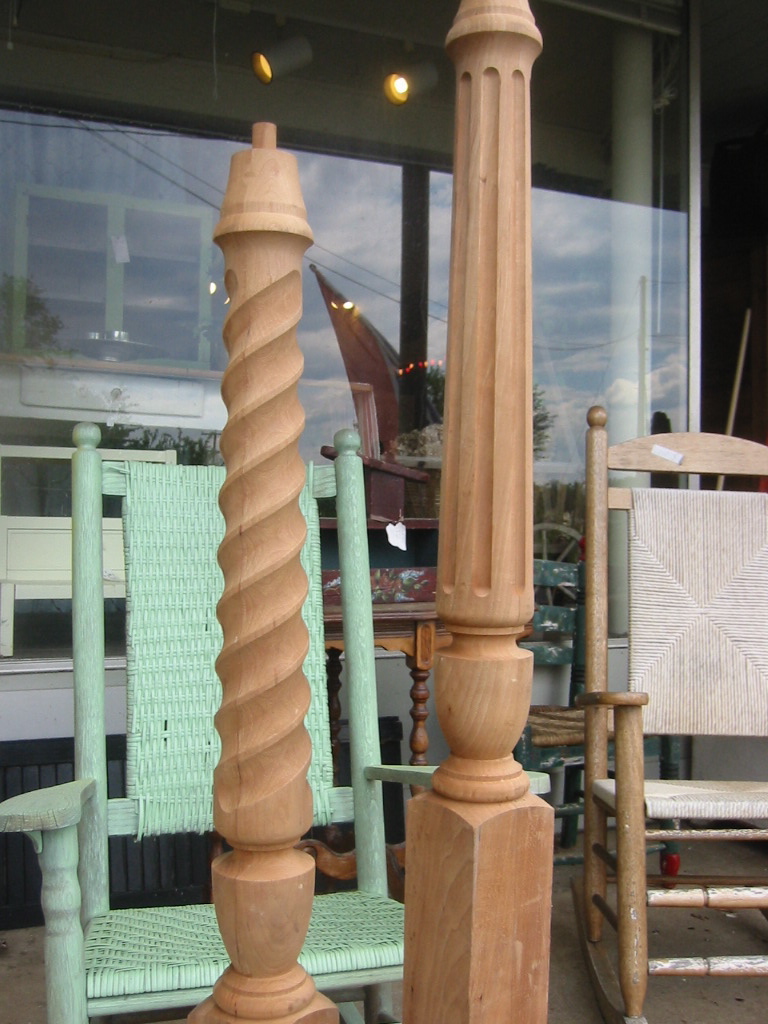
BEFORE: Finials from a thrift shop.
AFTER: More spoils for my booth. SOLD!
BEFORE: Here's a great idea.  Take an old silver chest.........
AFTER: And turn it into a monogrammed jewelry chest. Great gift!
BEFORE: More thrift....discs with faux black velvet backs and stock art.
AFTER: Reinvented with bird and bee knobs, and chalk paints. SOLD.
BEFORE: Dated blue and white lamp...
AFTER: Painted, with a new drum shade.
Love the handles and reptilian details! 

BEFORE: Gold and black chipped horse statue. 
AFTER: Another booth piece. Glossy white. SOLD!
YES, you can even paint hardware!
These used to be brass...I gave them a verdigris patina.
More painted knobs.
Have an ugly light fixture or sconce? Paint it!!!!
This was another shiny brass piece that I reinvented instead of replacing.
BEFORE: I found these jars at a yard sale. Loved the shape.
AFTER: I painted the tops and added organza bows. SOLD.
BEFORE: Ugly colonial style shelf...
AFTER: I lined the back with some wood I found in the alley,
painted in fun greens, turquoises, blues...
Here it is in my booth propped with fun items.
BEFORE: Decoy lamp......
AFTER: Paint, baby, paint!!!!
Elmer Fudd, meet Martha Stewart!
BEFORE: Goldtone plastic convex mirror.
AFTER: Reinvented in an assortment of chalk paints and waxes.
BEFORE: Little wooden gazelle from Kenya.
AFTER: Wall art.
BEFORE: Black plastic planter rescued from trash.
AFTER: Faux painted........I used a pair of these for years in front of my house.
BEFORE: Pair of little white birds...
AFTER: Reinvented for a tuscan powder room.

So don't be afraid to get out the paint brush and play with some ugliness.
You'll be so proud of yourself! Instant gratification!
Hmmm, wonder what I'll find to paint today?????????