Monday, February 6, 2012

Fox Brothers: A Little Piece of My Heritage

I grew up in Greenwood, Virginia...most beautiful place in the world.  
So did my Dad.  
So did his father.  
Here's my dad on his wedding day, the little photo on the left.  
And the photo on the right is his father - my grandfather - A.D. Fox.
Grandpa had several businesses with his brothers, 
and they used the moniker, "Fox Brothers." 
One of them was this service station in Greenwood,
which was located on 250 next to Emmanuel Episcopal Church.
 
Here's the inside office. (That's Grandpa on the right.)
I can still smell it: Motor oil and old rags and sweat......
A few years ago, my dad gave me this surveying tool that belonged to Grandpa. 
It's one of my favorite possessions.  
I have it hanging in my home. 
I love family memorabilia!
 I wish I had more! 
So when I found this flyer recently, I was tickled.
And I start thinking...
How cool would it be to have an old sign from Fox Brothers.....
 And then the other day, on one of my alley walks, 
I found this piece of wood. 
Perfect for a sign!

 So heck, I decided to make one. 
First I painted it in Old Ochre, using Annie Sloan Chalk Paint.
 I tried to match the flyer typestyle with a font from my computer. 
I printed each letter out on its own sheet of paper, 
and then taped them together to fit within the dimensions.
 I rubbed pencil on the back of each sheet, and then drew around the letters 
so that when I removed the paper, it left an outline.
 Then I just filled in the letters with ASCP in Graphite.
After finishing the lettering...
 I distressed the sign by hitting it with a palm sander.
 Then I dry brushed some Chateau Gray here and there, 
and added clear and dark waxes.

And here's my Fox Brothers Sign! 
No, it's not the real Mccoy, but it's still a tribute to the legacy of my Grandfather
and his brothers.
I think they would be proud. 
I know I am.

Tuesday, January 24, 2012

Ordinary Table and Chair Set Becomes Functional Art

You've seen these before....typical pastel colored child's table and chair set....
 My client Barb wanted to "fun these up" for her daughter, Vivian...oh boy....my kind of project!!!


So here I go....I painted each of the chairs in a punchy color, then had a blast with free-hand designs...
harlequins...
 circles...

 stars and stripes...
 stripes and dots...

And then the table.......
 Here they are..........so which is your favorite?
(Did I get a little carried away???)

Monday, January 23, 2012

Don't sweat the small stuff. Just paint it! Birds bees bunnies...


Most of you already know I'm a thrift store junkie.
I'm not ashamed of that.
I tend to go a little overboard on the little stuff.......
Here's why:  Immediate gratification!
Besides, it's easy to work on little stuff indoors when it's so nasty outside.
Here are a few small finds from the past week to demonstrate what you can do with some of those ugly-ass ('cuse my french) knick knacks out there!


These little ugly ornaments? plaques? have plastic gold frames, BLACK VELVET backs and reproduction art. I bought a bag of them for 45cents.
And here are a couple of them after my reinvention.  I used cast iron knobs and napkin ring pieces, and Annie Sloane Chalkpaint. Yep, you can even use it on black velvet!
Sweet little terra-cotta bunny...
Blue bunny loves to sit on my grain sack bench...

And lastly, a couple of large finials.......silvertone and black..........


 And here they are for sale in my booth, after a couple coats of Old White, a little distressing, and wax.
Looks to be another dreary day out there...
Hmmm, wonder what will get painted next?


Friday, January 20, 2012

Thinking Outside the Box: Old Chair + Fuzzy Throw = Retro Reinvention!

This is the kind of stuff I live for.........when the old light bulb goes off and something gets repurposed in a new and interesting way!

Take one old 2nd hand chair.........
Nice size, nice lines, just, well, dull, worn, and in need of reupholstery or a slipcover....

 Which is what I was intending to do.....Until an idea struck me. 
   I had this great fuzzy throw I purchased for a client, and ended up keeping for myself.
One day I decided to toss it over the chair to camouflage it until I could get around to its makeover, and, well,  it was working!!!!!!!!!!! So here I go...
 Today I just sewed that bugger right on, and I have an instant furry fun retro-inspired chair!
It was very easy to sew because with all the "fur," you couldn't even tell where I sewed the edges together.
 It took a bit of finesse, but all-in-all, it was a heck of a lot easier than a traditional slipcover!
I also primed and painted the legs in a glossy grey-white...........
I didn't even cut the throw up! It's still intact under there, waiting to be revealed one day on this chair's next future makeover.  Wonder when that will be??

Thursday, January 19, 2012

Trashy Cover Up: Cabinet Makeover

Hello all of you out there in blogland......
I'm back!  
I know, I've disappeared for awhile......
Today was a beautiful day, and since I had to take my Bernina sewing machine into the shop yesterday, I couldn't tackle all the sewing projects I have on the books.
So, I decided to do a little sidewalk work this afternoon.  
I had my sights on this yukky cabinet that my friend, Robin, found in the trash.  You can see why someone tossed it... 
 She wanted it out of her car so I gladly took it...

 Pretty disgusting really.......
I took a putty knife to it and got off most of the loose paint.
 That's TEXTURE, baby!!!!! It's going to look great after I'm finished.
 It has a nasty retro formica top.........Bet it will clean up with a little Bar Keepers Friend...
 And this is what it looks like now! 
What a great little cabinet for a kitchen island, or a bar.
I  painted it with Annie Sloan Chalk Paints in Duck Egg Blue and Provence, dry brushing most of the edges.  
Then I distress sanded, and waxed with clear MinWax, and Annie Sloan Dark Wax.
 Added some miscellaneous hardware from my stash...
 I love these pewter nail heads I purchased from Ufab.
 They're great for disguising holes when you have to reposition hardware, etc,  and don't want to deal with wood filler and sanding and dry time.....
I'm on a schedule here folks! Who has time for dry time?
See how the waxes accentuate all the crackled paint that's leftover?
No, Robin, you cannot have it back!

Saturday, January 7, 2012

Feeding the Addiction: The Saga of a Rehabbed Console Table.

Oh my, I haven't been to a junk store in weeks........serious withdrawal symptoms are kicking in, so thought I would just peek my head into Diversity Thrift today on my way home from client appointments.  
I walked in and immediately saw this sofa console on a metal base for $35...I'm not kidding, we were on our way home in literally 5 minutes, me and yet another piece of furniture that I didn't need.

 Not a real fine piece of furniture by any means, but this is something I figure I can redo fairly easily and sell in my booth.  Besides, I love many drawered things!
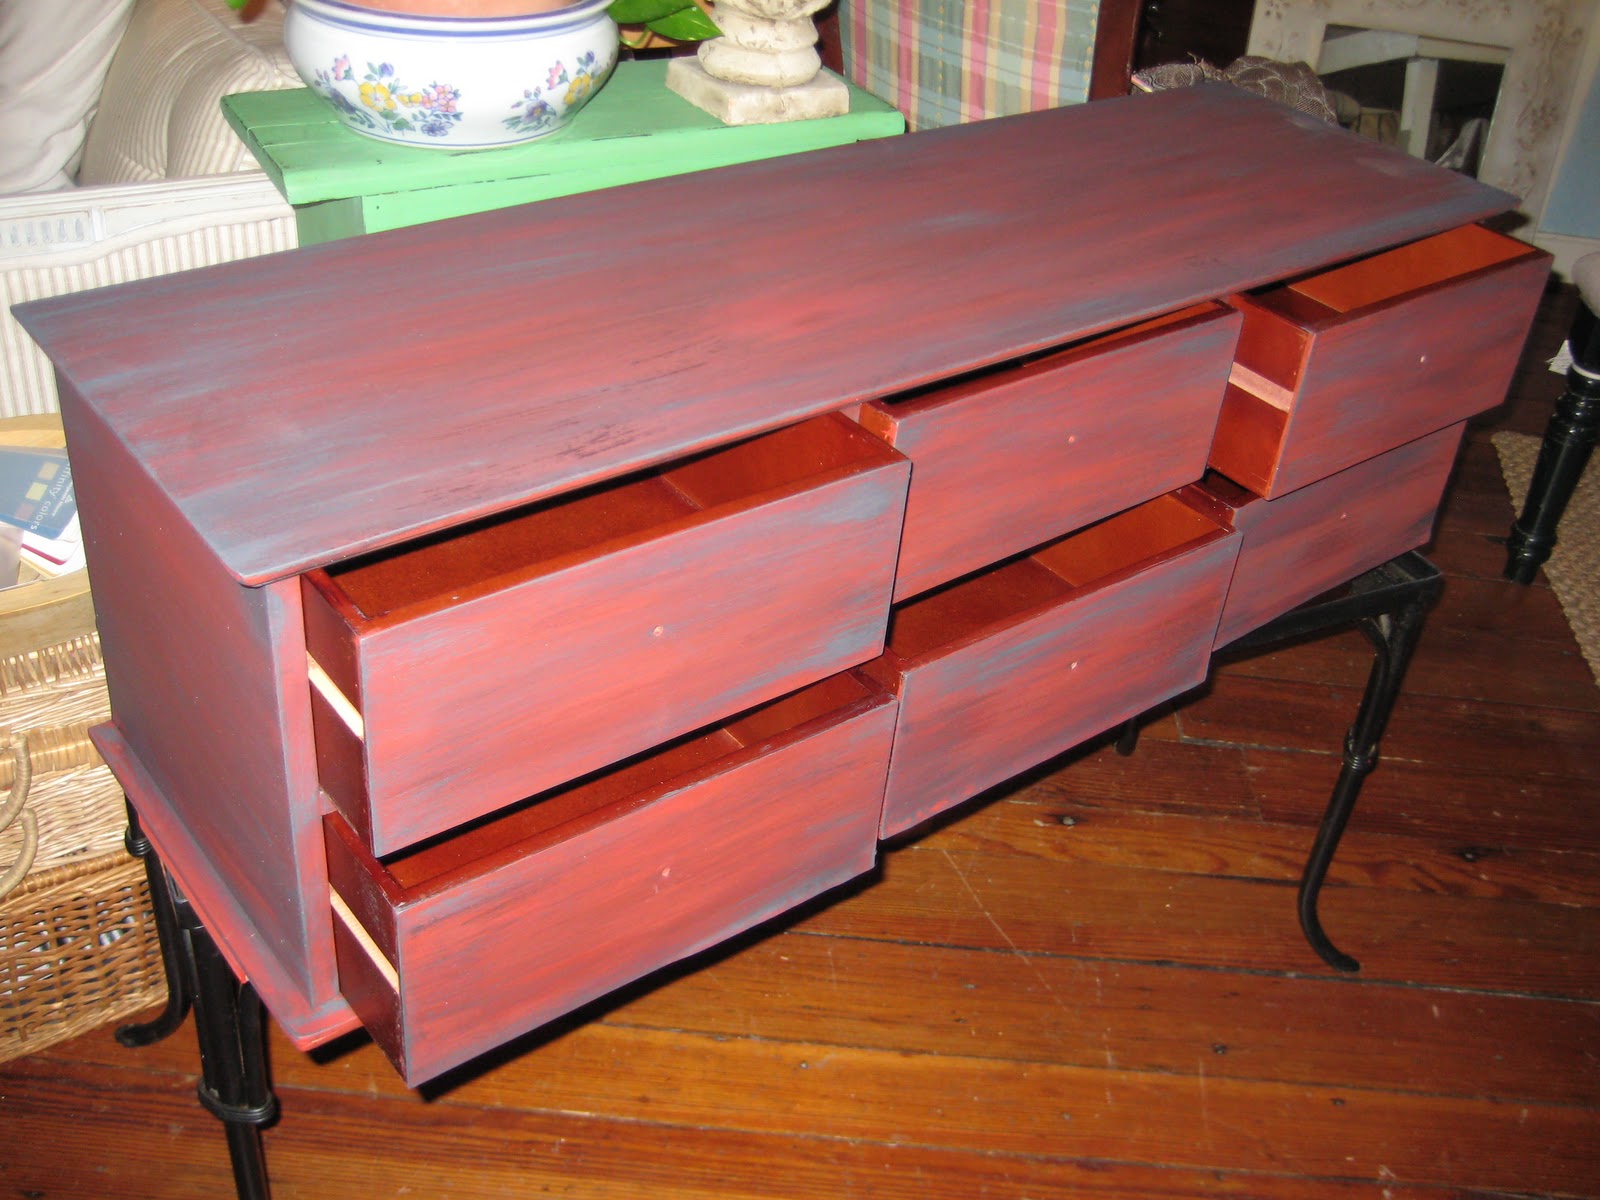
The piece is pressed wood...........has some water damage around the base...
 And the top is scuffed up but that's okay because I'll be painting it.......
People ask me if I know what I'm going to do with a piece in advance.  
Sometimes I do, sometimes it just has to evolve. 
 In the case of this one, I thought I might try something a bit different than my normal finishes.....
Perhaps an asian inspired chinese red with blacks??.
I painted the piece in Annie Sloan Chalk Paint in Emperor's Silk, and then dry brushed Graphite.  Yuk...hate it....I added a Pewter Metallic Glaze, but I still wasn't feeling the love.......
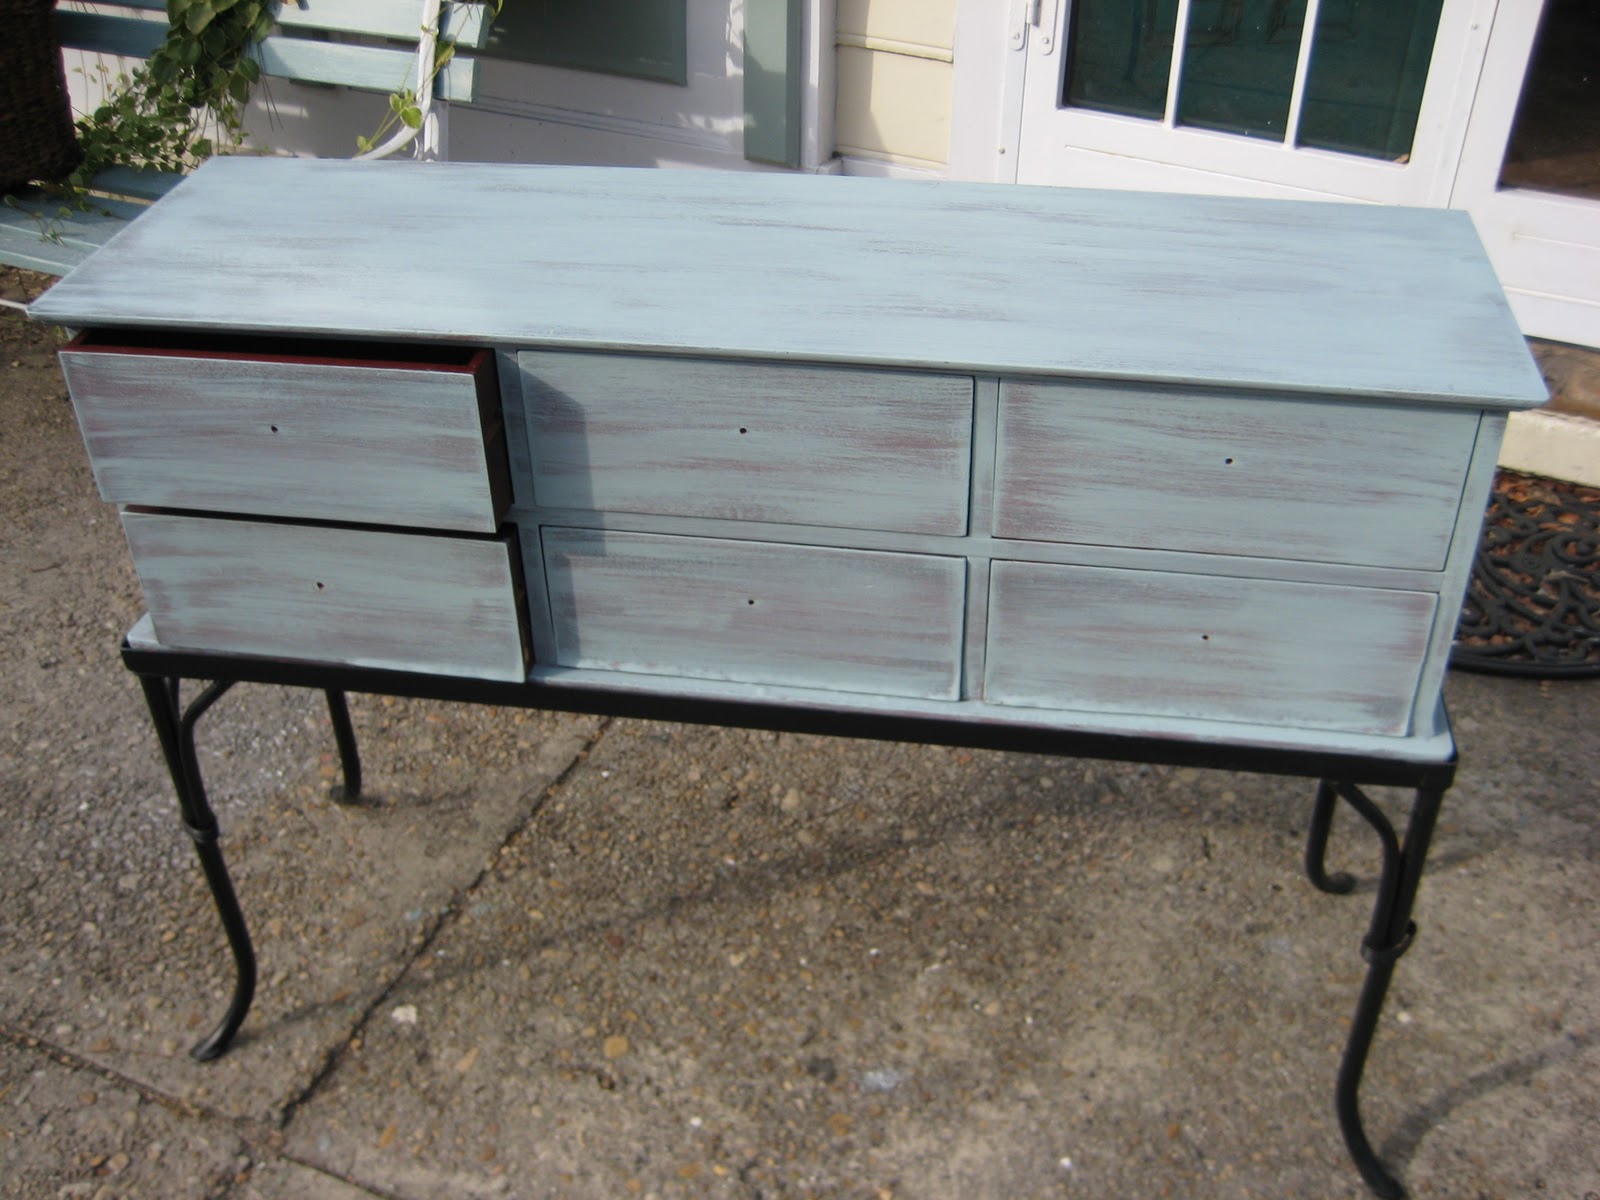
 Next I used some Benjamin Moore satin finish paint I had on hand in Gossamer Blue. 
I just continued dry brushing over the base coat.  
After letting this dry, I got out my trusty mouse sander.
 Okay, getting better now....I'm liking the aged look with the red base coat peeping through and the wood showing now on the sanded edges.
 Next.....let's add some numbers..........I printed off some numbers in a stencil font, and then traced them on each of the drawer fronts.
 I don't know what it is about numbers on furniture...I just like them.
I painted in the numbers with Graphite.
 Yep, really starting to come together now...the black numerals help tie in the wrought iron base.
 Then I brushed the Graphite along all the sanded edges where the wood is peeping through.
 After adding some shiny metallic black knobs, it's looking like this....Not sure about the knobs yet..
 Here's the piece after I waxed it with clear and dark waxes......The clear wax pulls out the red undercoat and the dark wax ages the piece......but I'm still not in love with the knobs...........I mean they're okay....but...aha, idea!!!!!
 I pulled out the Mod Podge..
 and decoupaged some images of different corals onto wooden knobs...
here they are still wet...
 And here they are added to the piece....
Certainly not your run-of-the-mill piece now.  
Hmmm, a numbered, coral knobbed sofa console...

 What do you think?  Too much? Or just right?
I'm sort of grooving on it..........Heading to the booth soon...Selling for $165.  If you're interested, shoot me a message.........
Just another day in the life of a thrift junkie.
Thanks for reading my blog!